

His and Hers Home Office Makeover
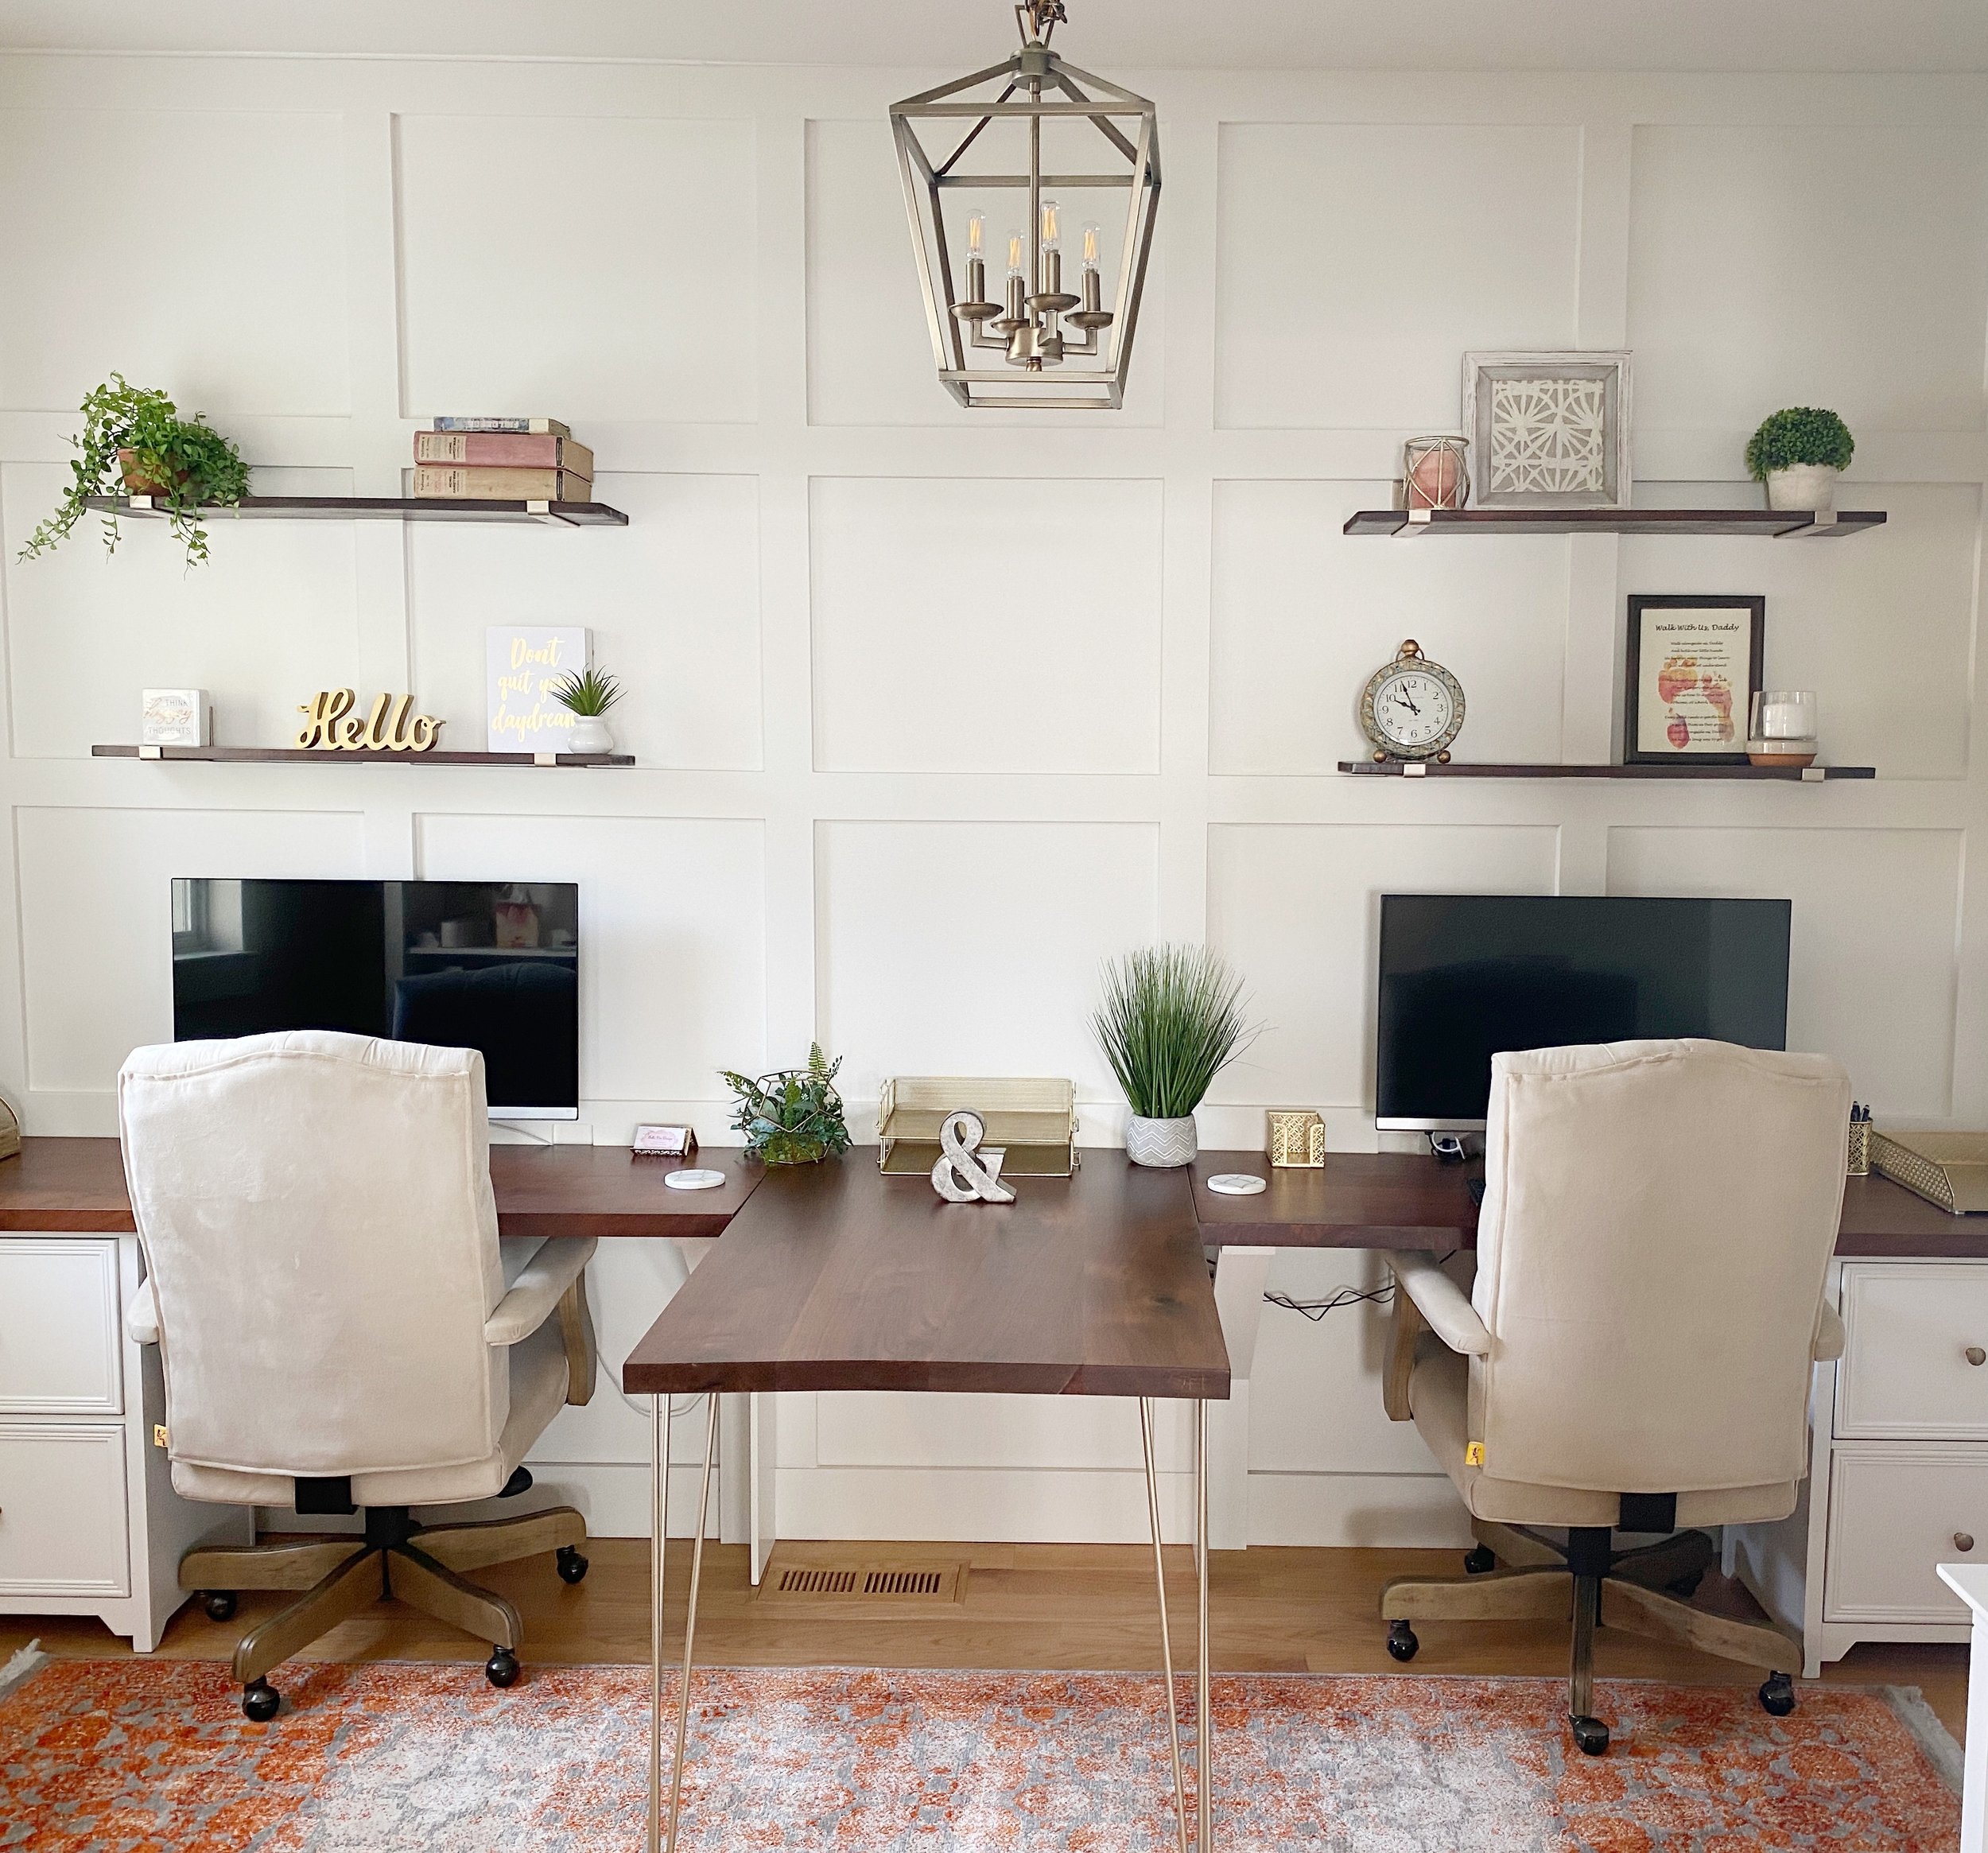
In the times we are living in, having a home office that is functional is key! I am so excited to share how we turned our messy kids playroom into the home office of our dreams! Complete with a his and her T-Shaped black walnut desk, custom board and batten wall, rich warm tones with gold accents, and plenty of space for two to work, this office checks all the boxes.
But… it did not start off this way, in fact this was the room I was embarrassed for people to see, and it is right off our main family room! Once our children were old enough and did not need a “play room” on our main level, I knew we could transform this space into something special.
So, lets start with the beginning and the awful scary “ Before Picture”…..

The before, what a mess!
Before we started this project, this room was a mess and had evolved through various stages of toy room mayhem in our house. At one point we had a train table in there, and toys….lots of toys!
Well, our children have grown and we now can move all their lovely “stuff” to the basement, making room to reinvent this space for a grown up home office. I wanted this space to be a place we wanted to come to every morning, and it needed to be functional to allow for 2 workstations. This was a challenge for a fairly small and narrow space.
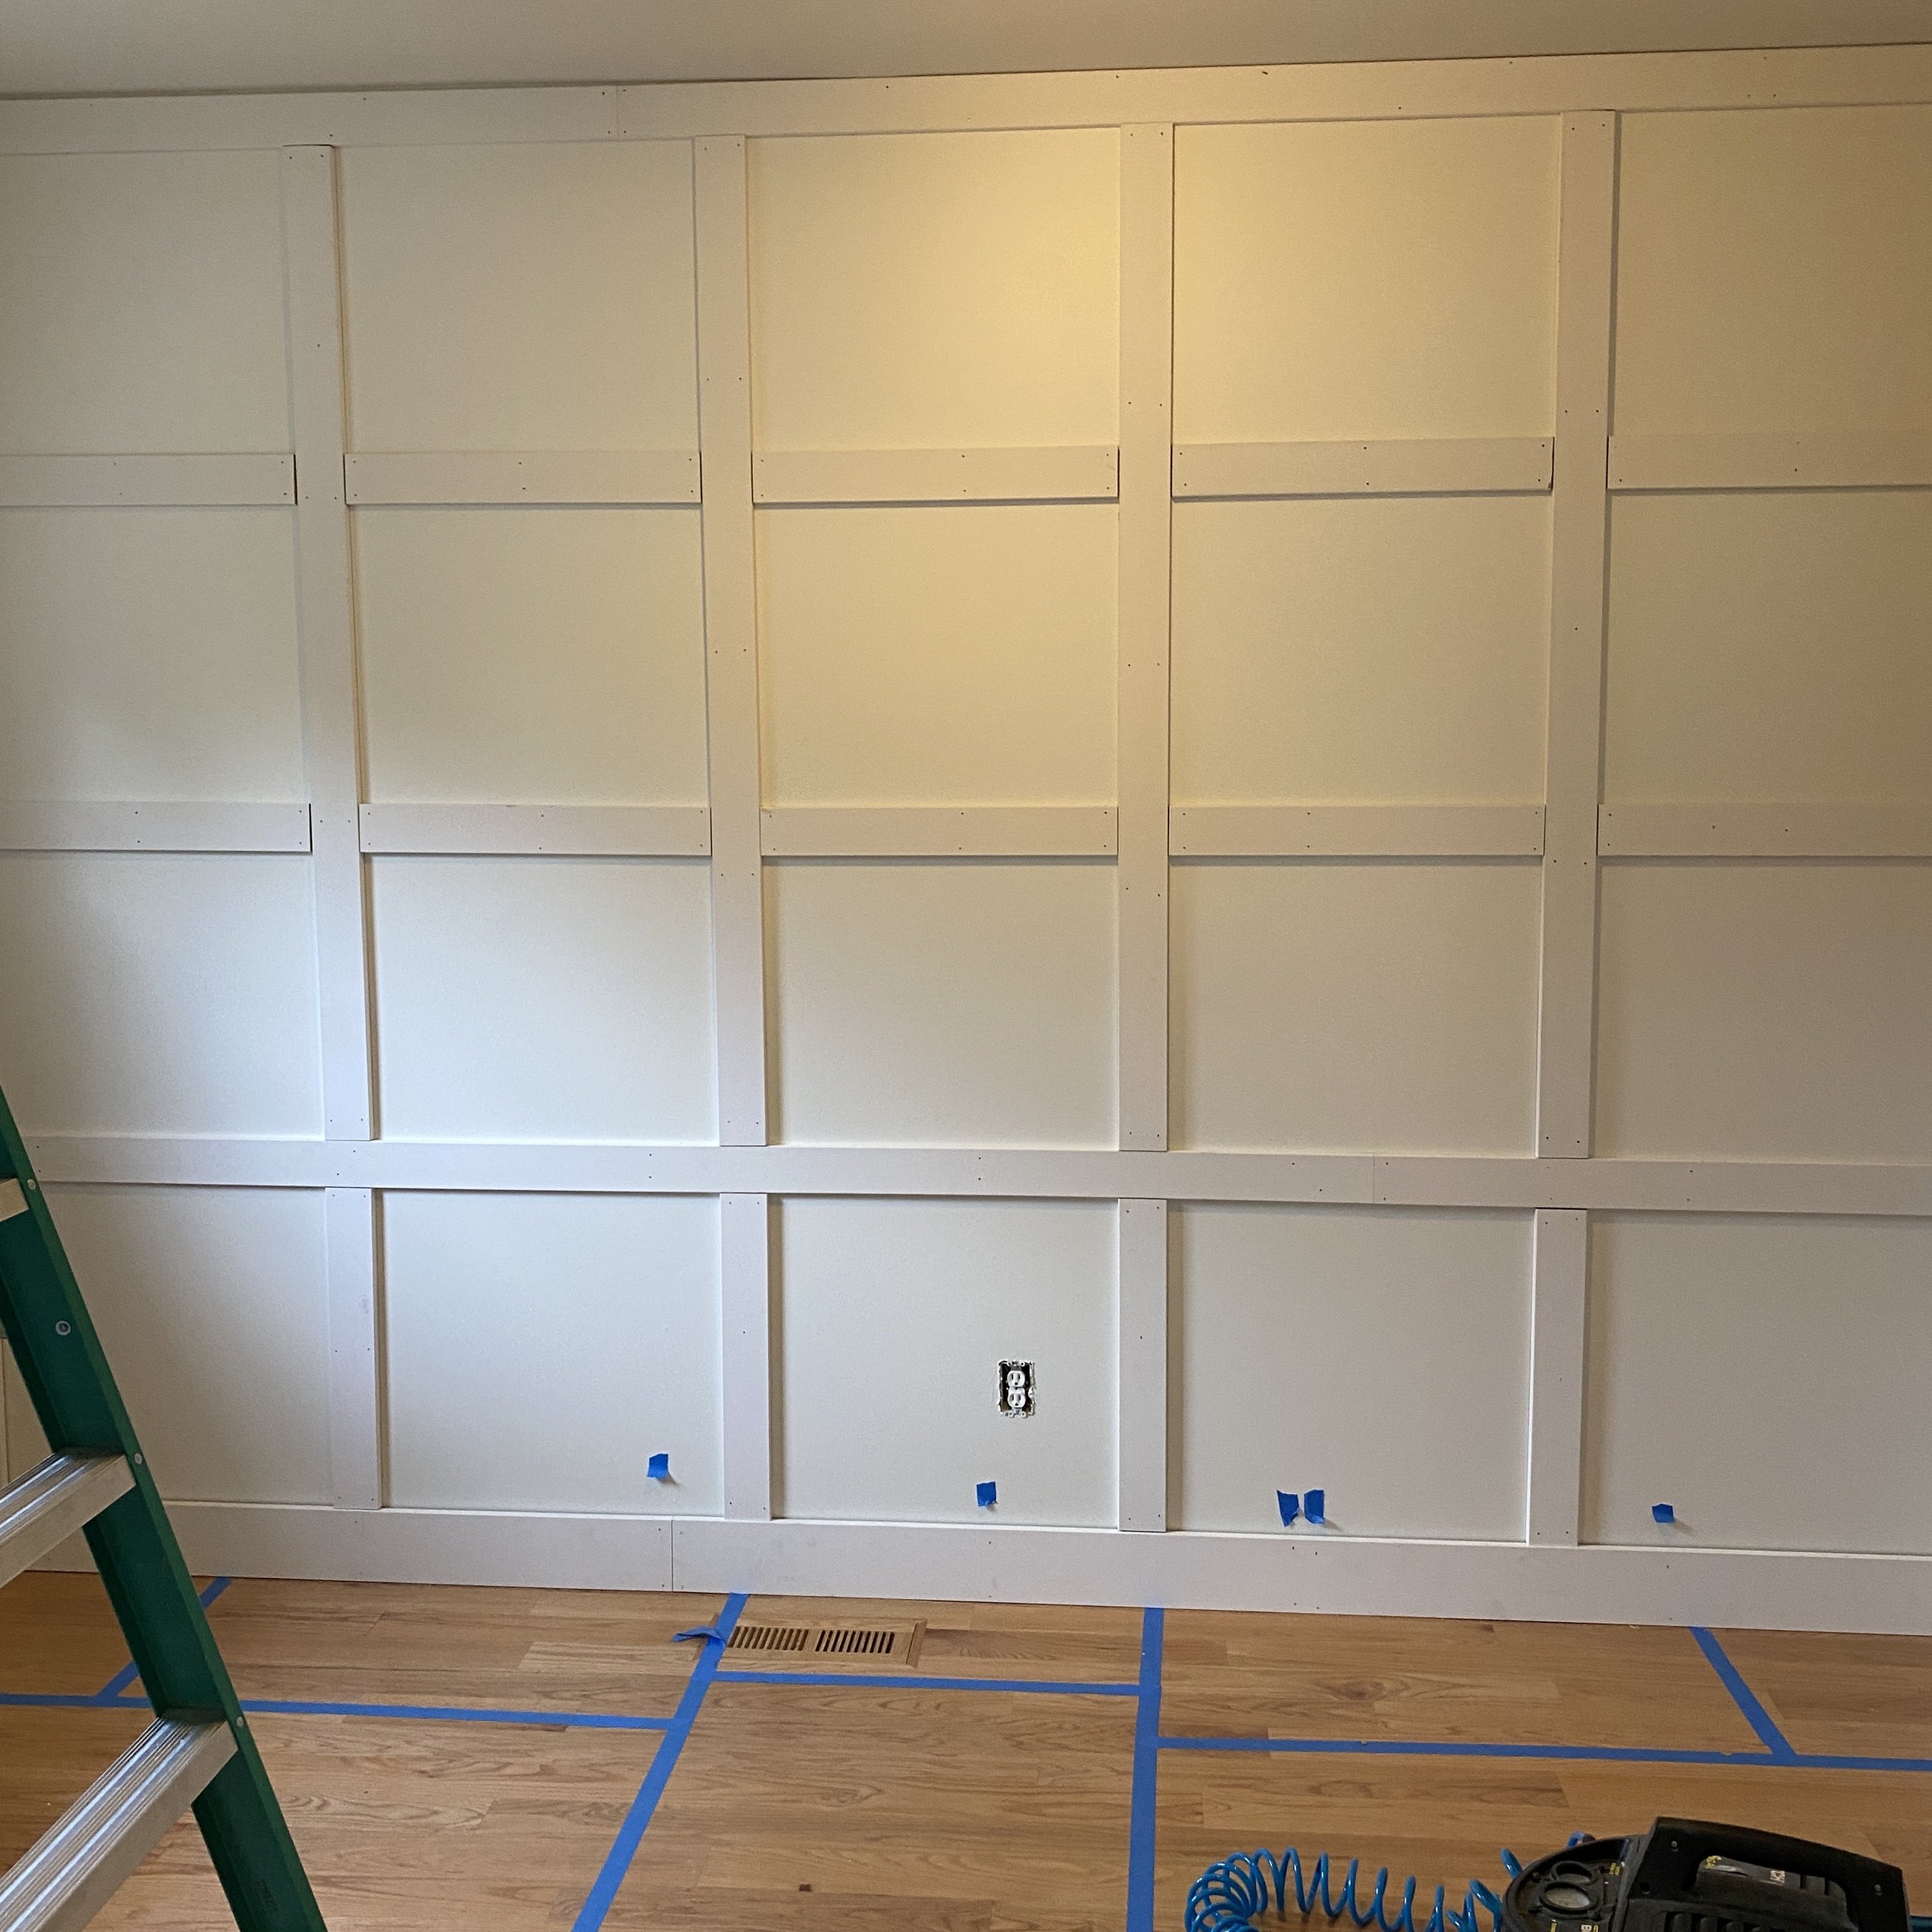
To help create an amazing focal point in the room and help the room appear less narrow, I decided to do a grid pattern board and batten wall on the back office wall. This will become the anchoring point for the office desk. I enlisted the help of my Hubby and we used 3 1/2’’ pre-primed MDF boards for the grid.
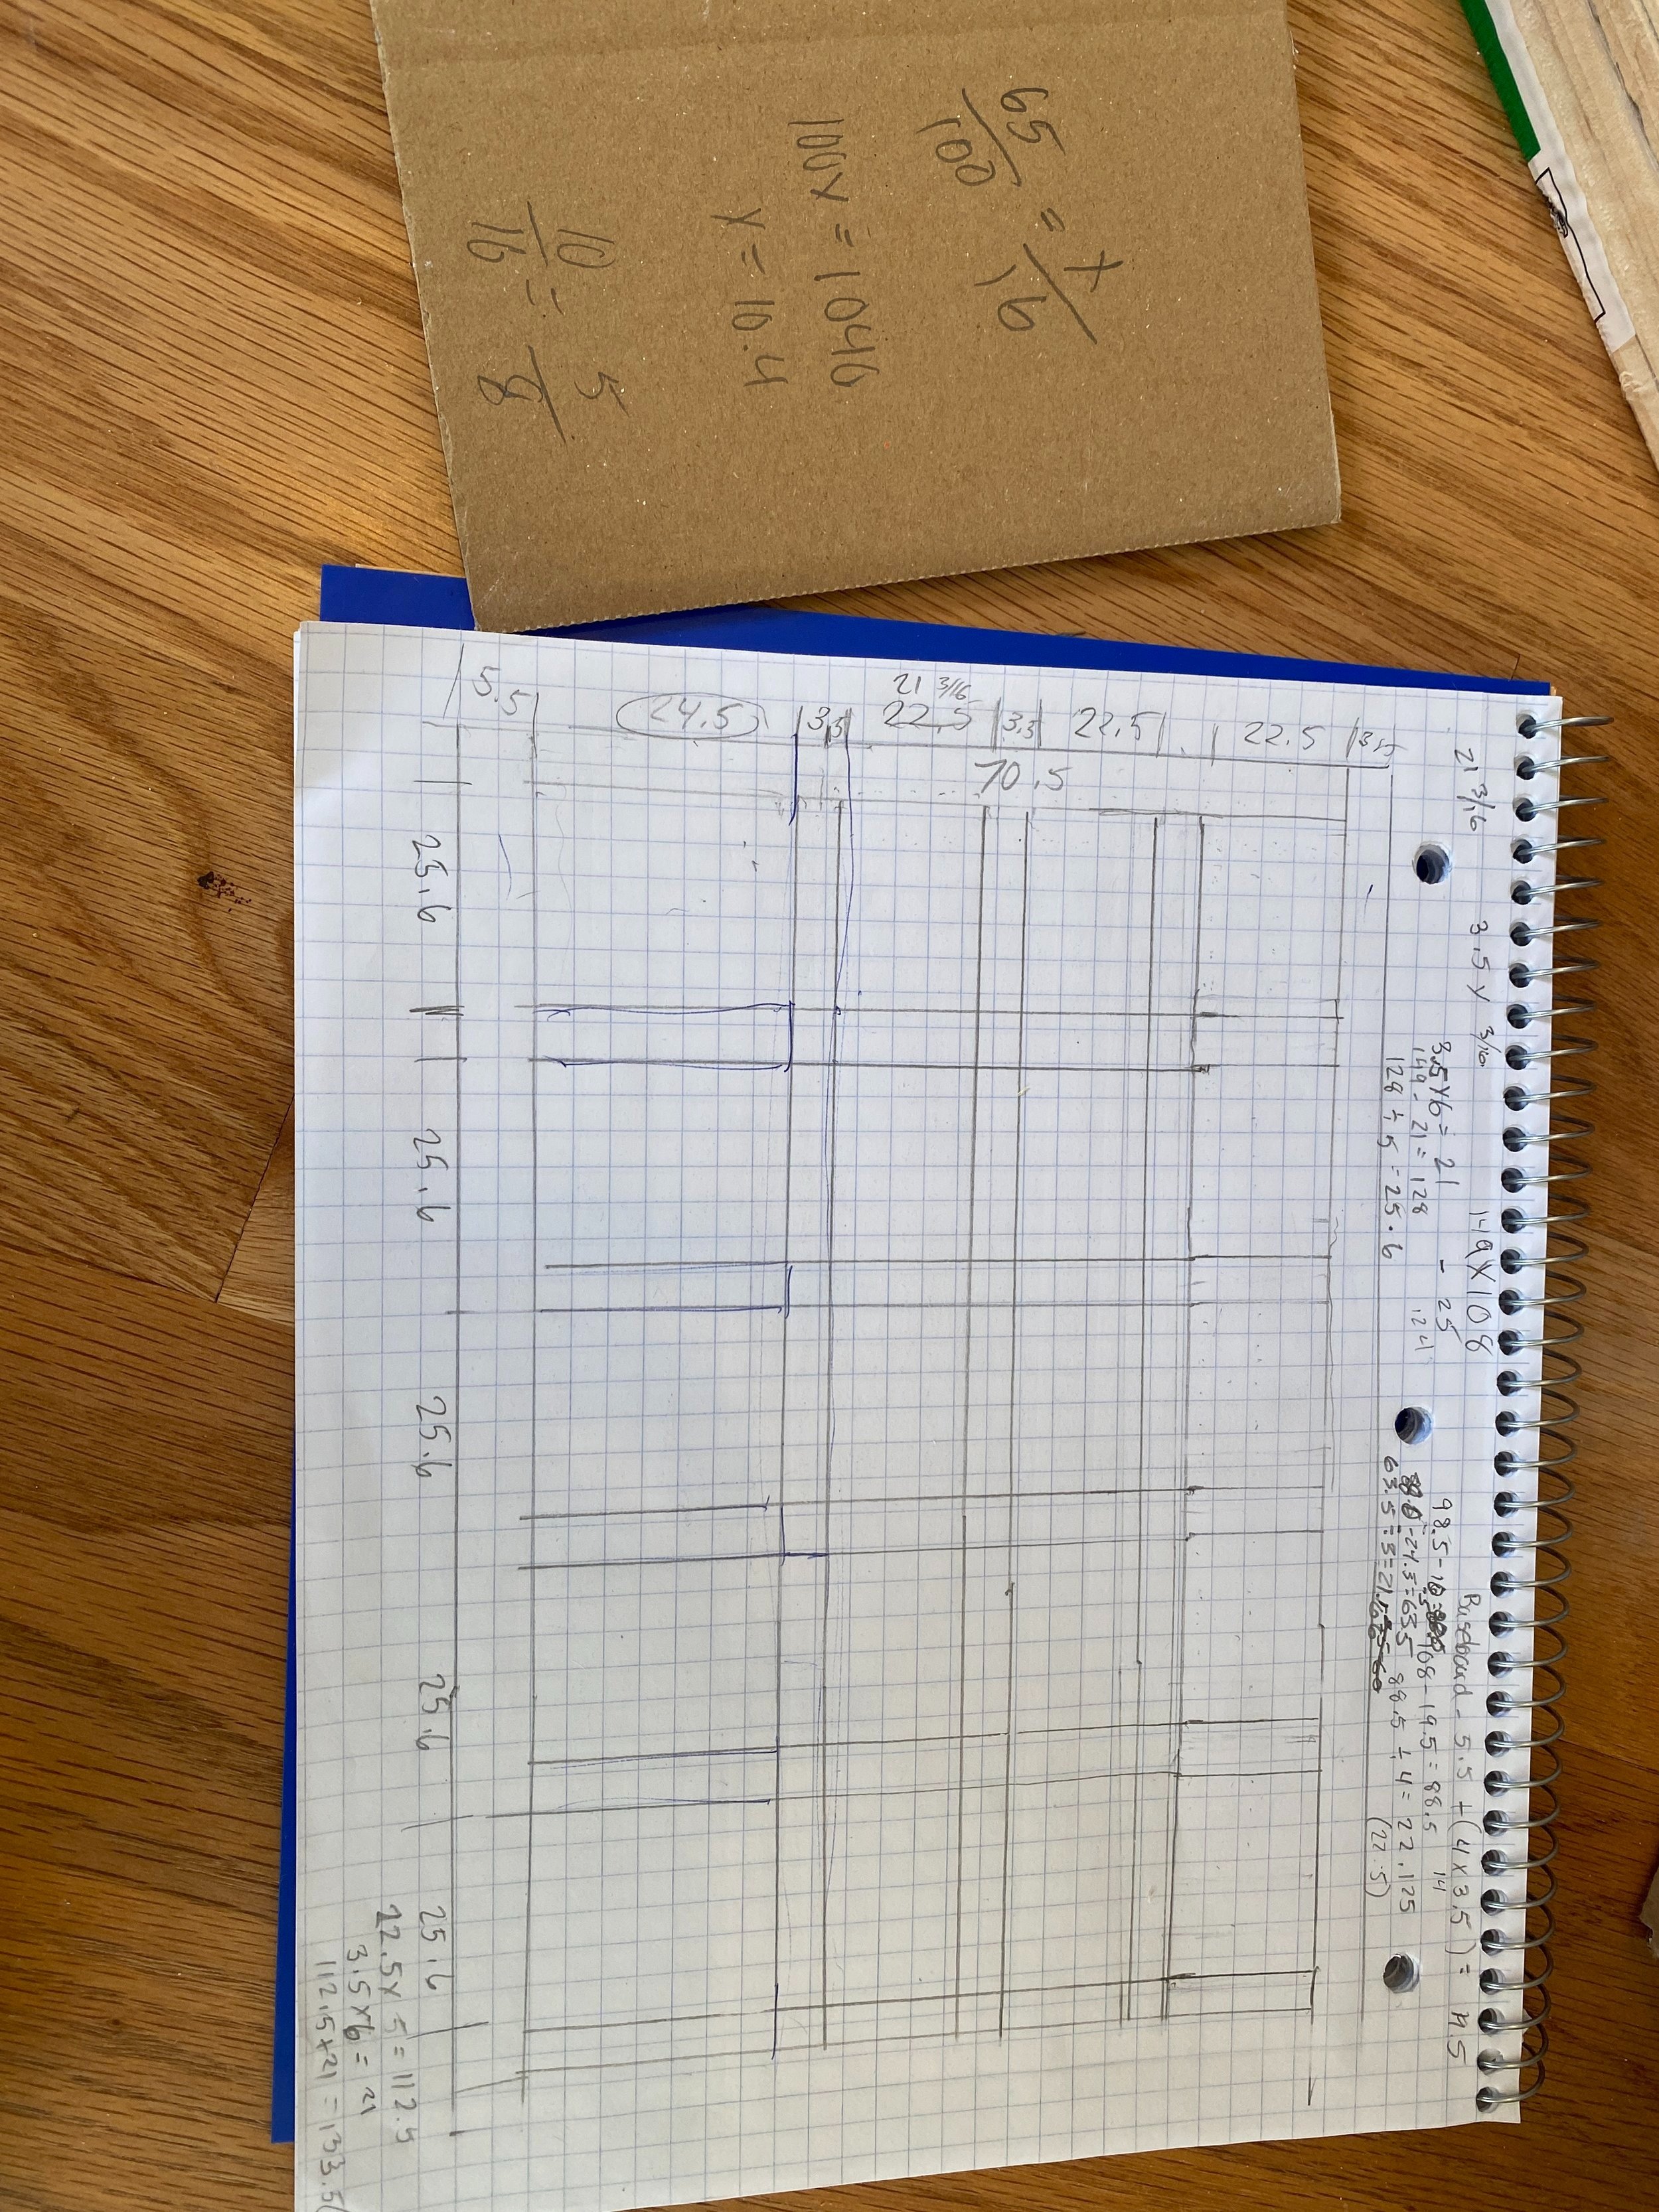
It will save you lots of time and headaches if you draw out your pattern measurements ahead of time! Planning your pattern takes quite a bit of math to ensure your grid pattern spaces out the way you would like- be sure to account for the trim boards in your measurements as well.
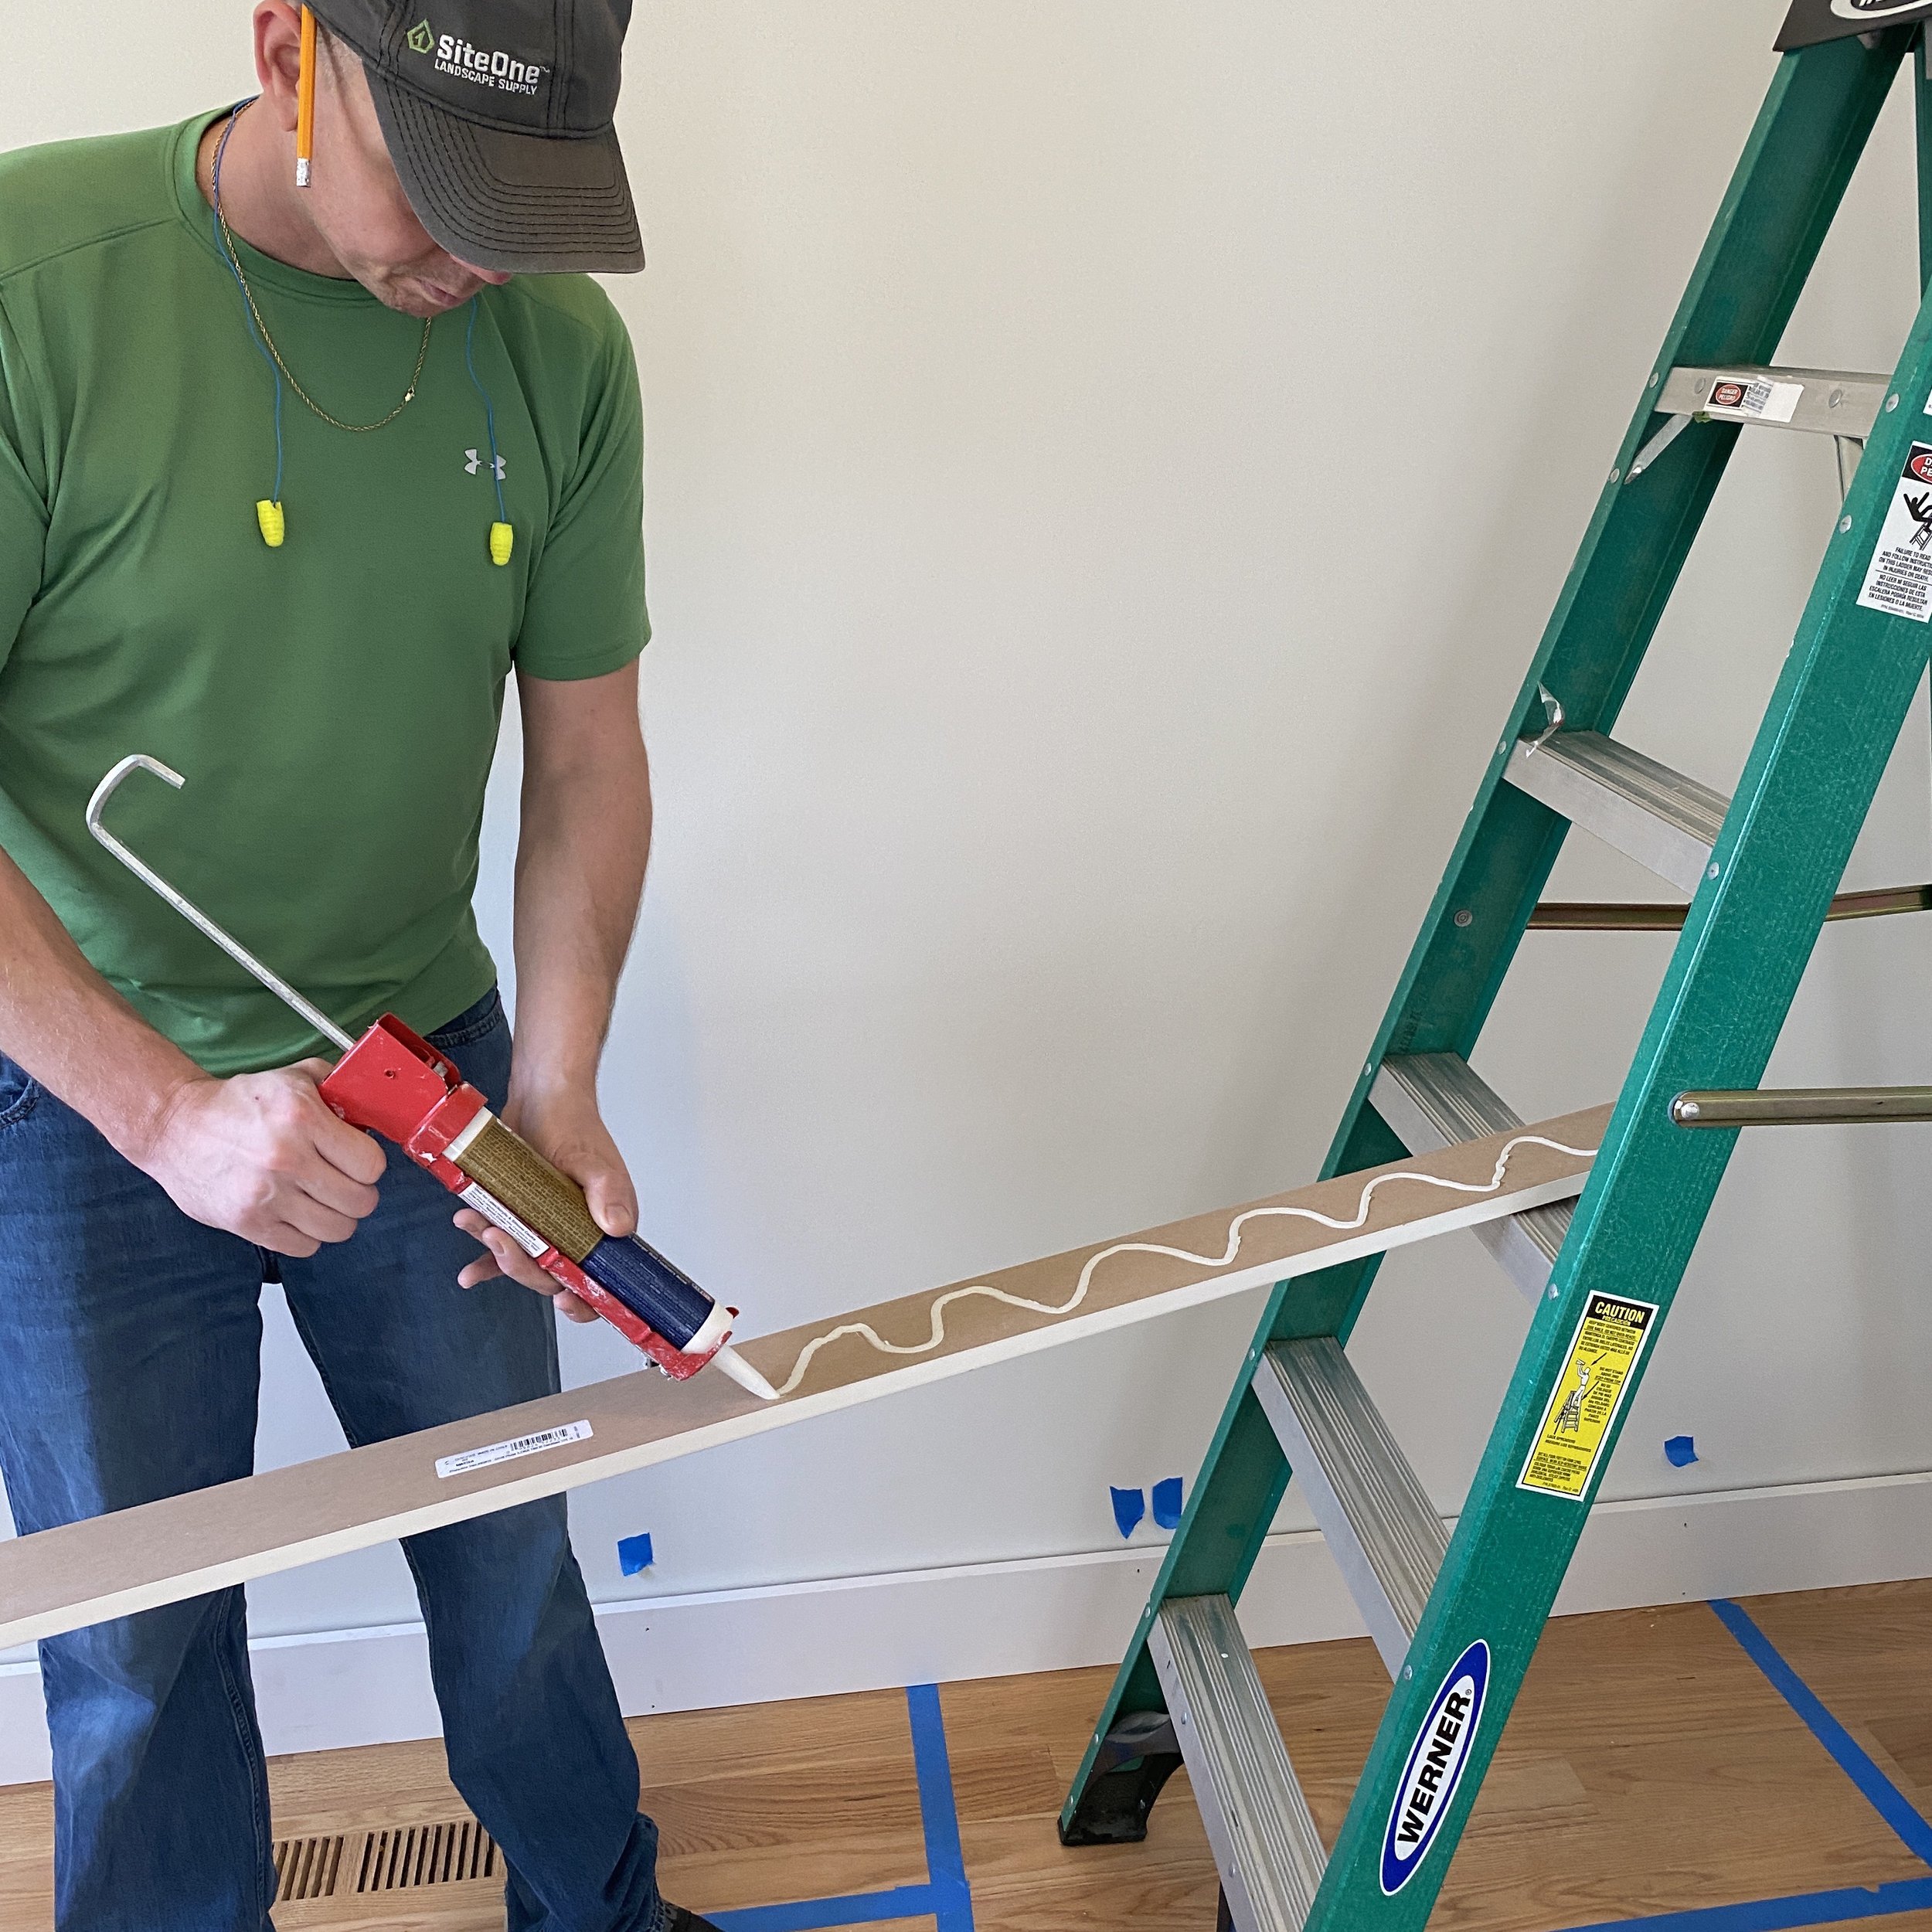
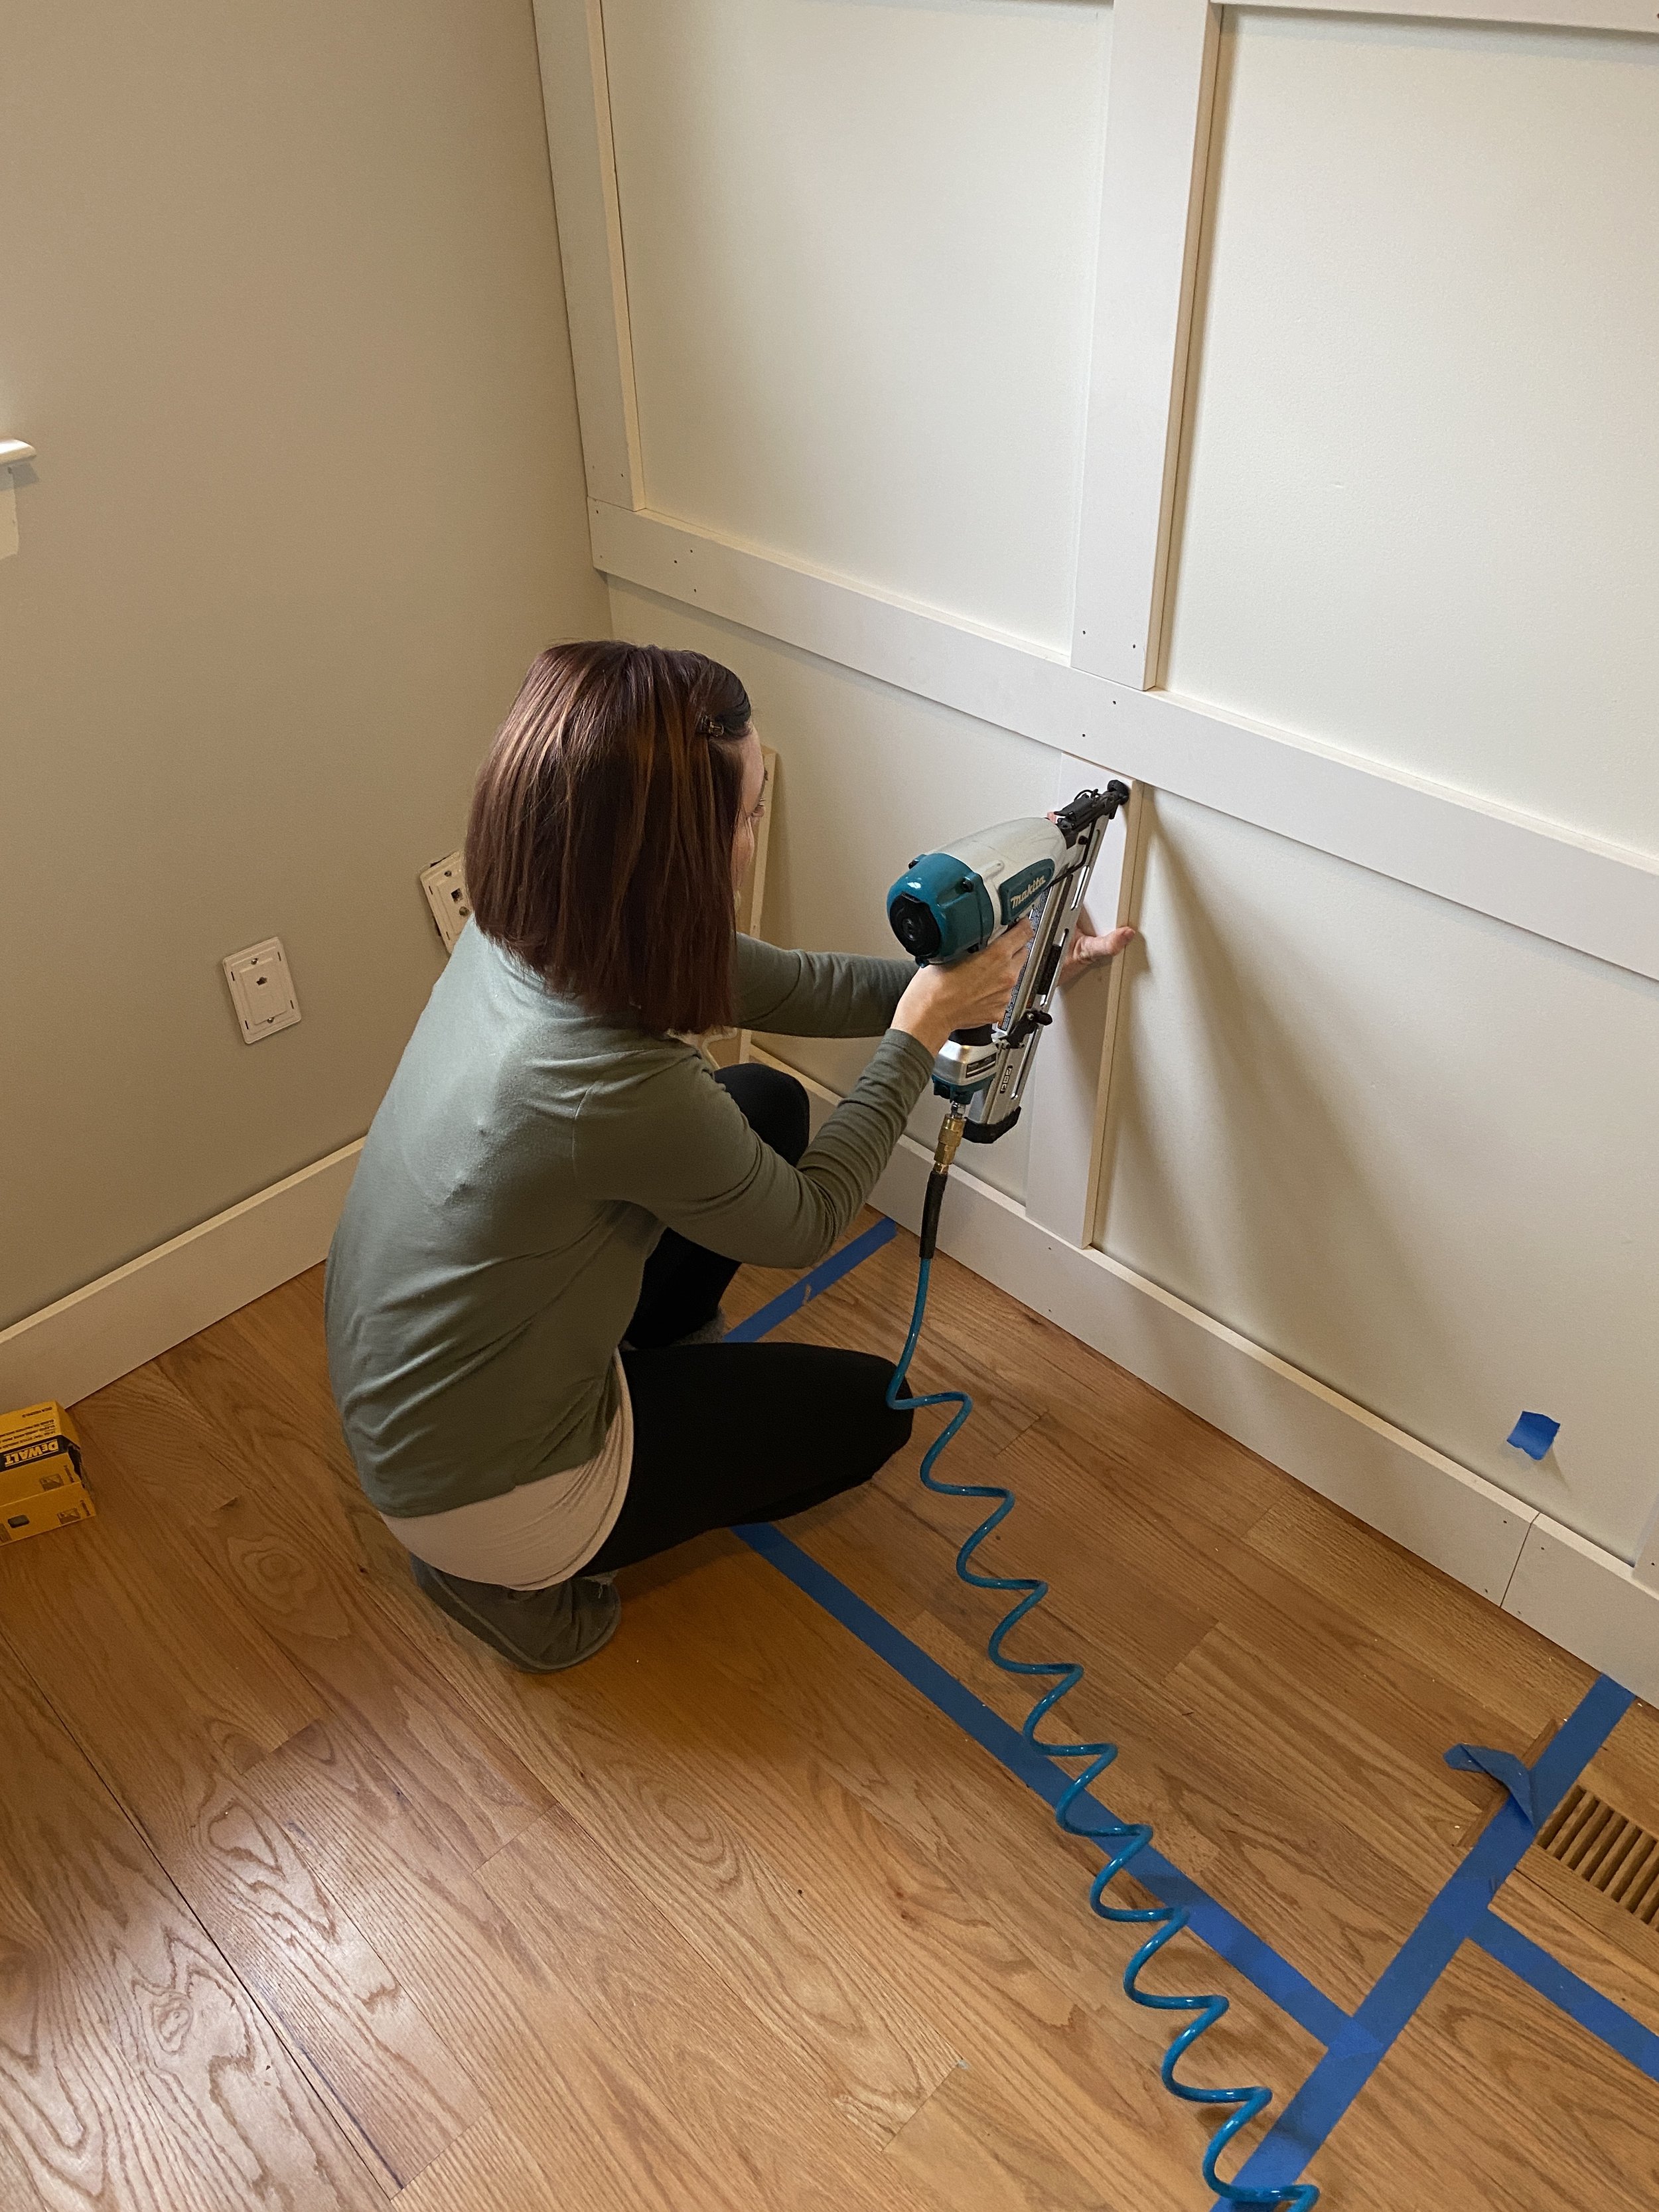
For our pattern, I wanted the grid above the desk to be a full square, and the bottom trim board of the square to line up with the top of the desk, so the squares below my desk are actually slightly larger than my upper squares because of this. Once we had our grid layout measured, we cut our pieces, and glued and nailed them in place (check me out with that nail gun!). Tip: cut a guide board the length of your spacing to keep boards even when nailing!
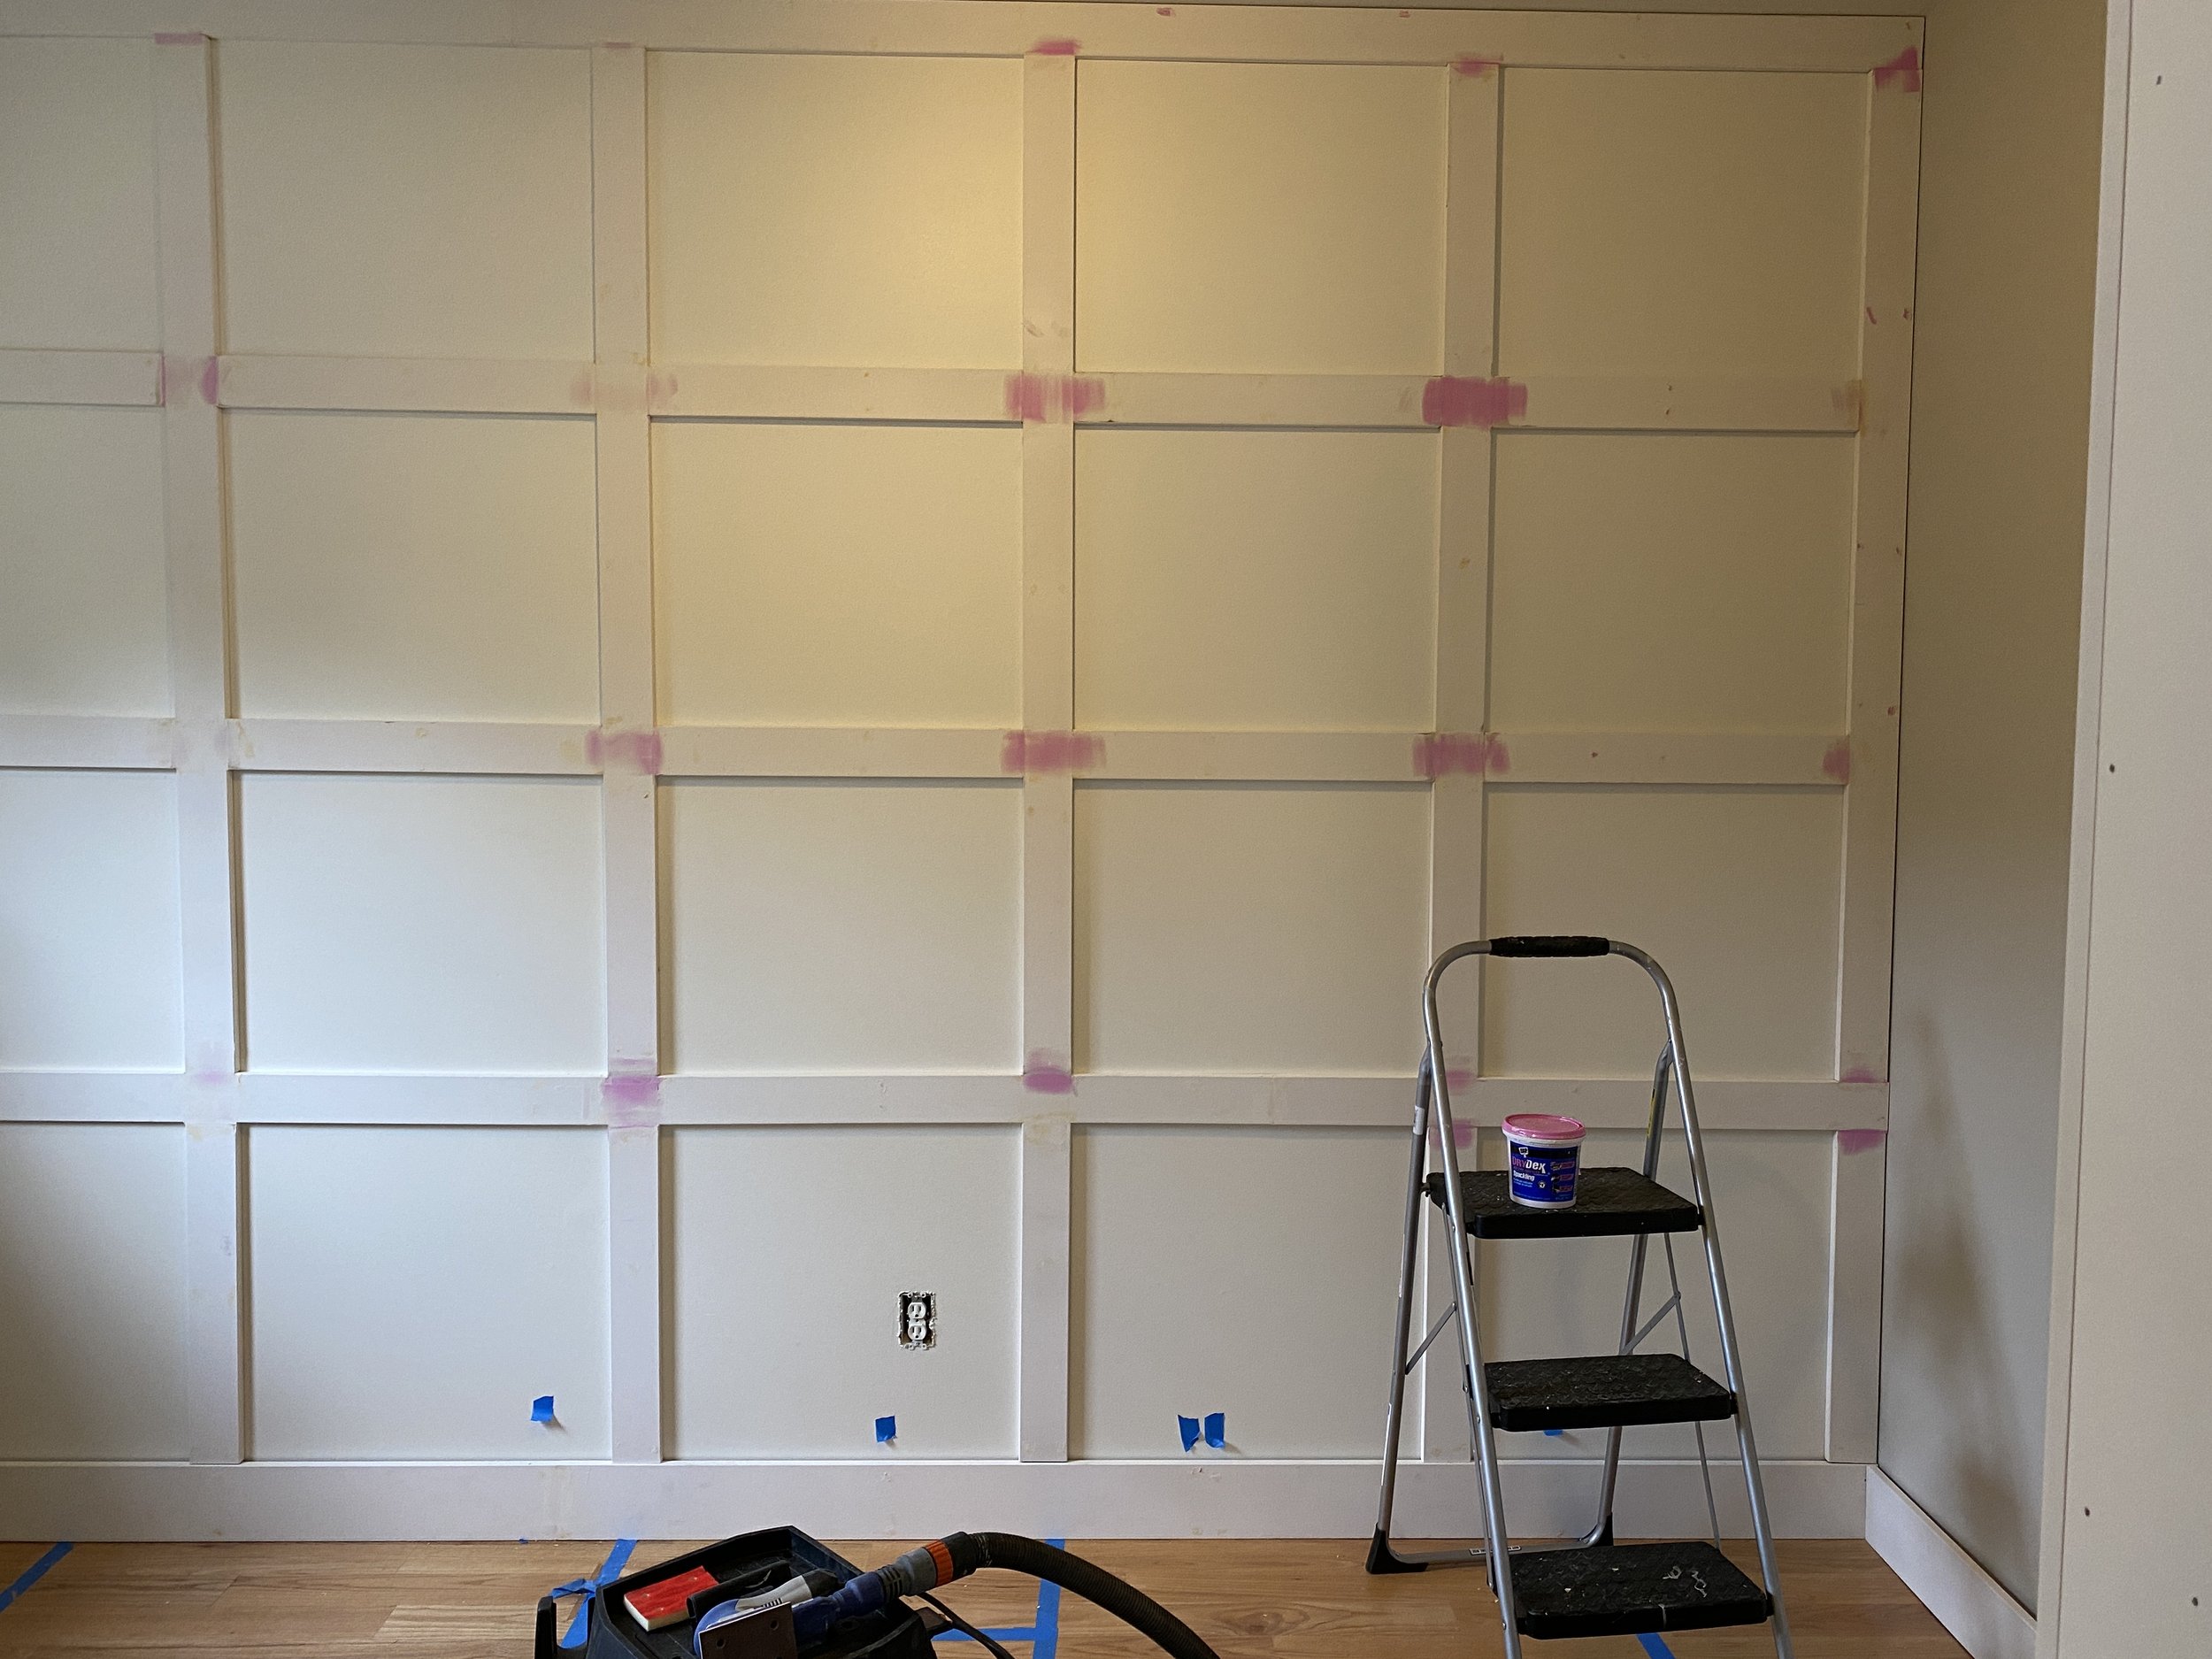
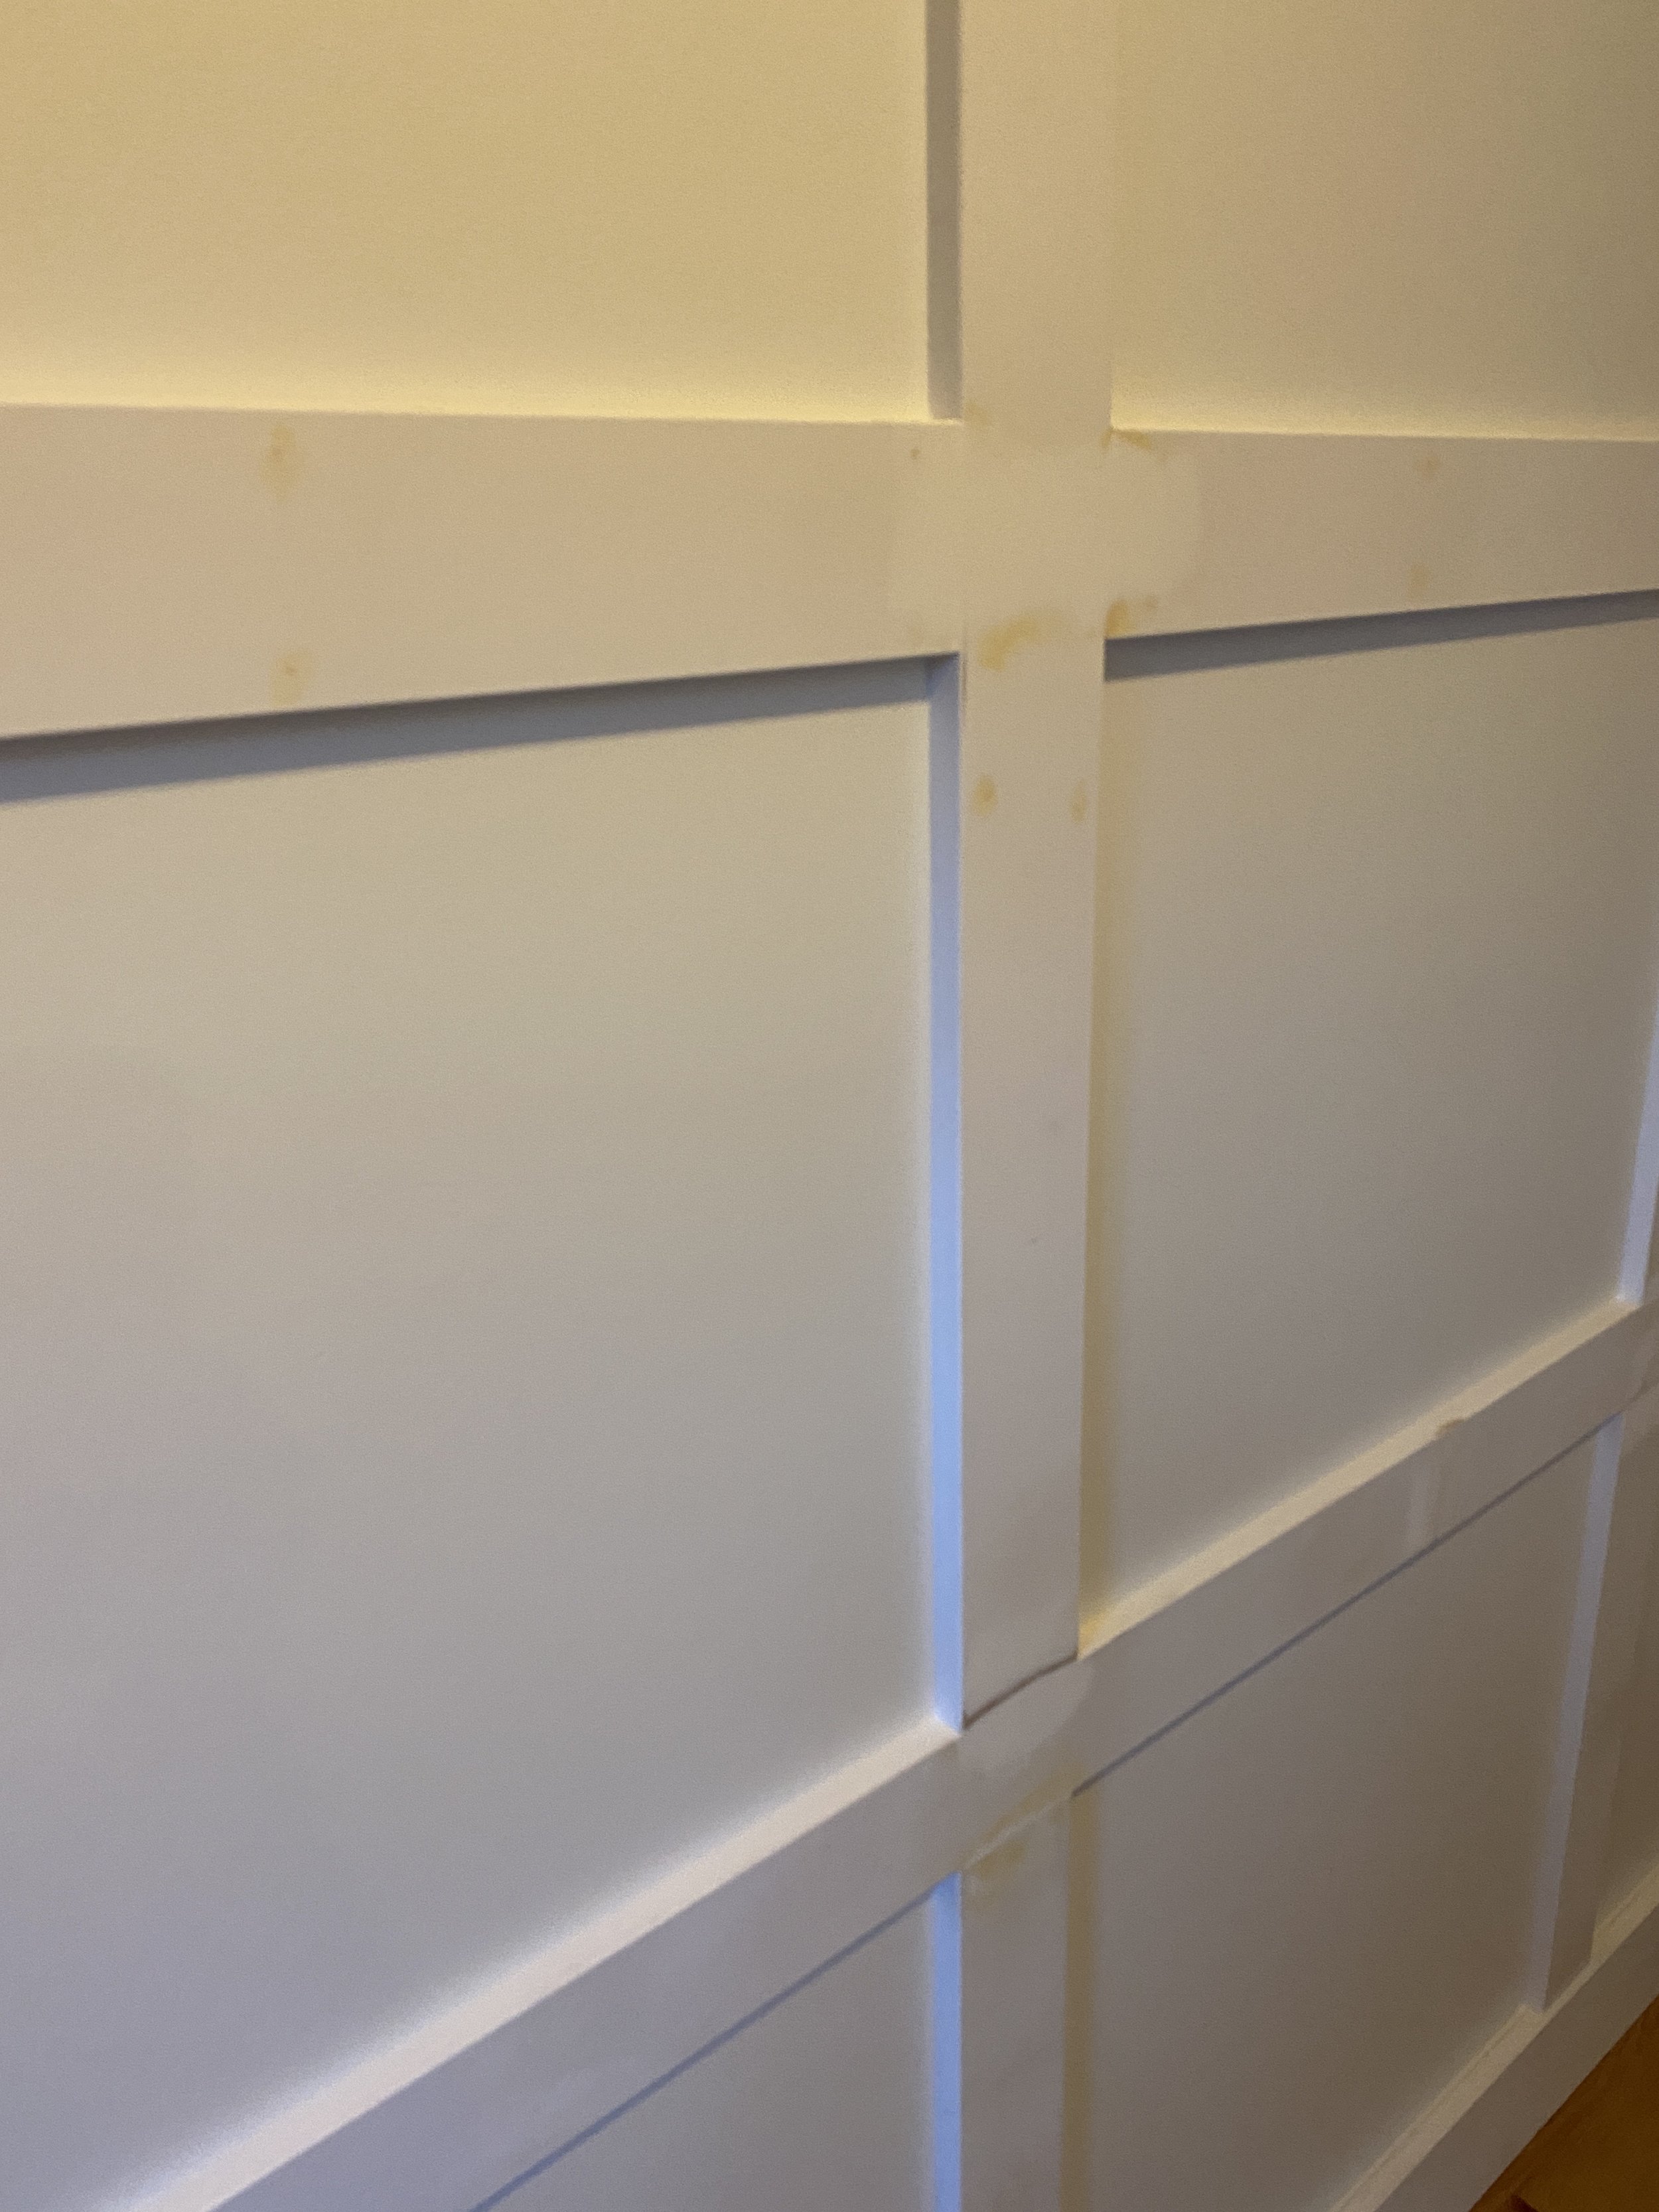

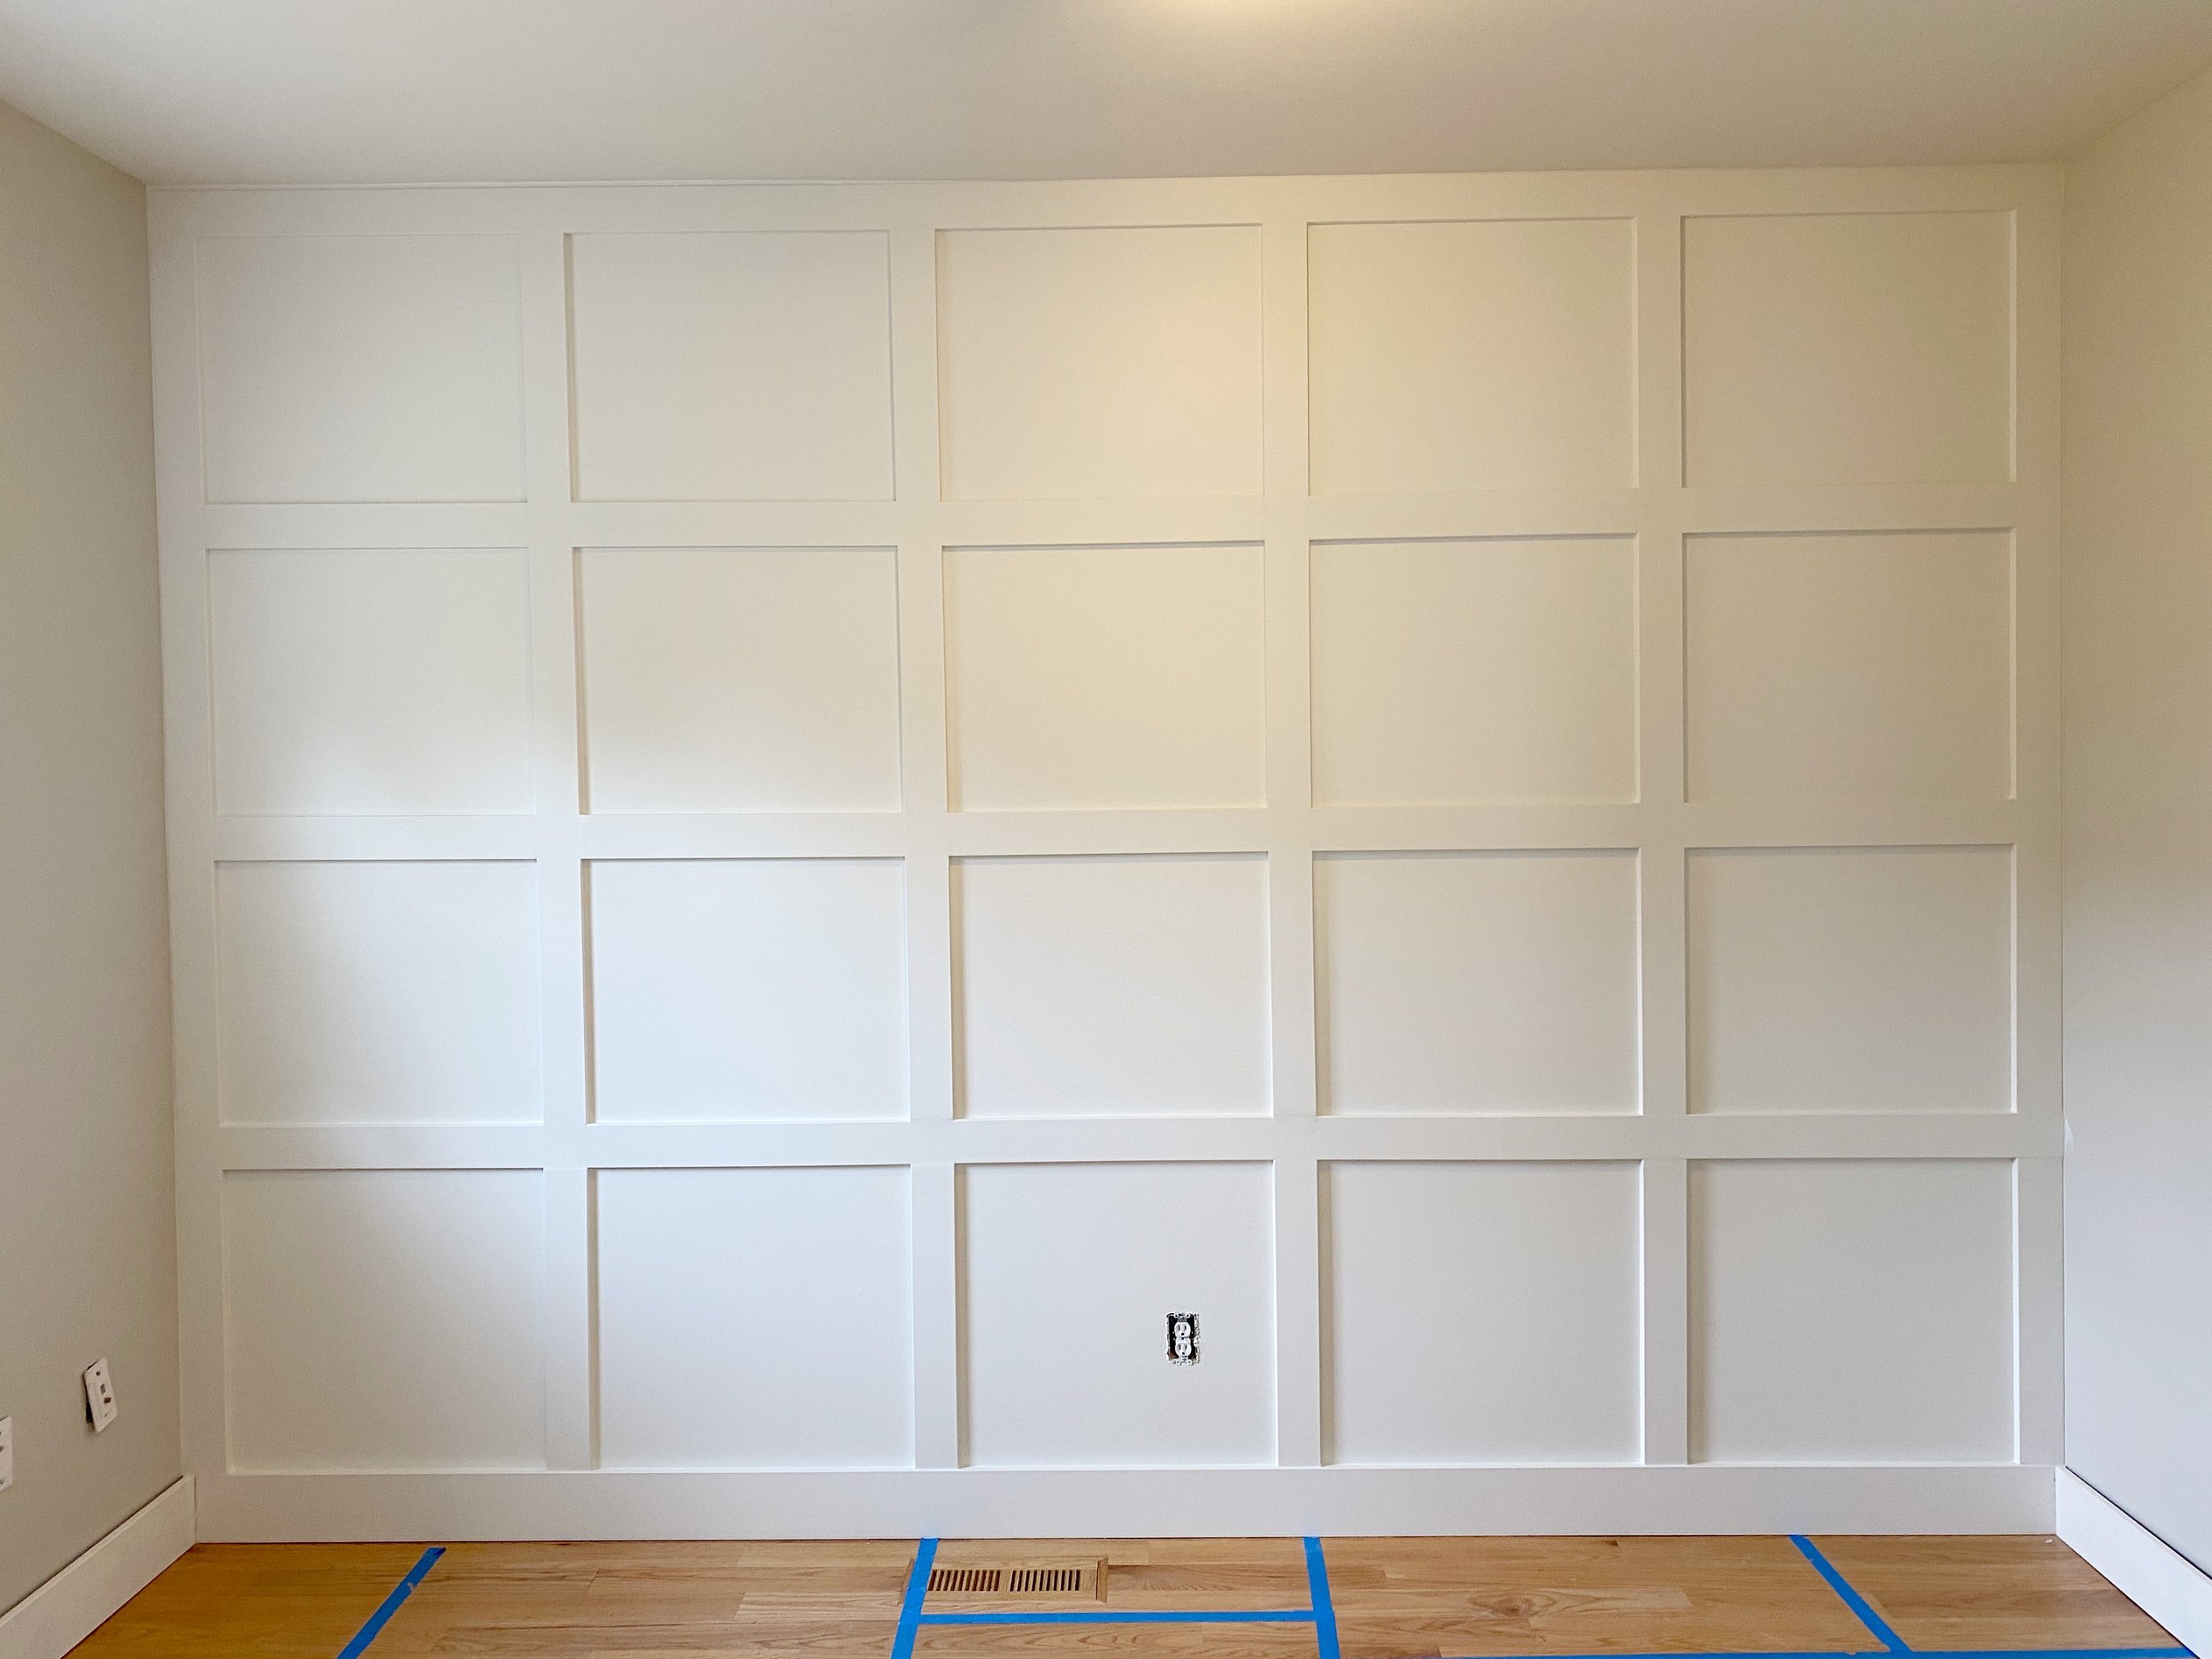
Next we had to putty all the holes from nailing, and caulk all the seams and edges where the trim touched the walls. Doing this ensures that once painted, your board and batten will look smooth and a part of the walls. Give yourself some time for this step, it is a lOT of caulking, my fingers were a tad raw after this step! We painted our grid wall in Sherwin Williams Alabaster, and the remaining walls in Sherwin Williams Agreeable Gray.

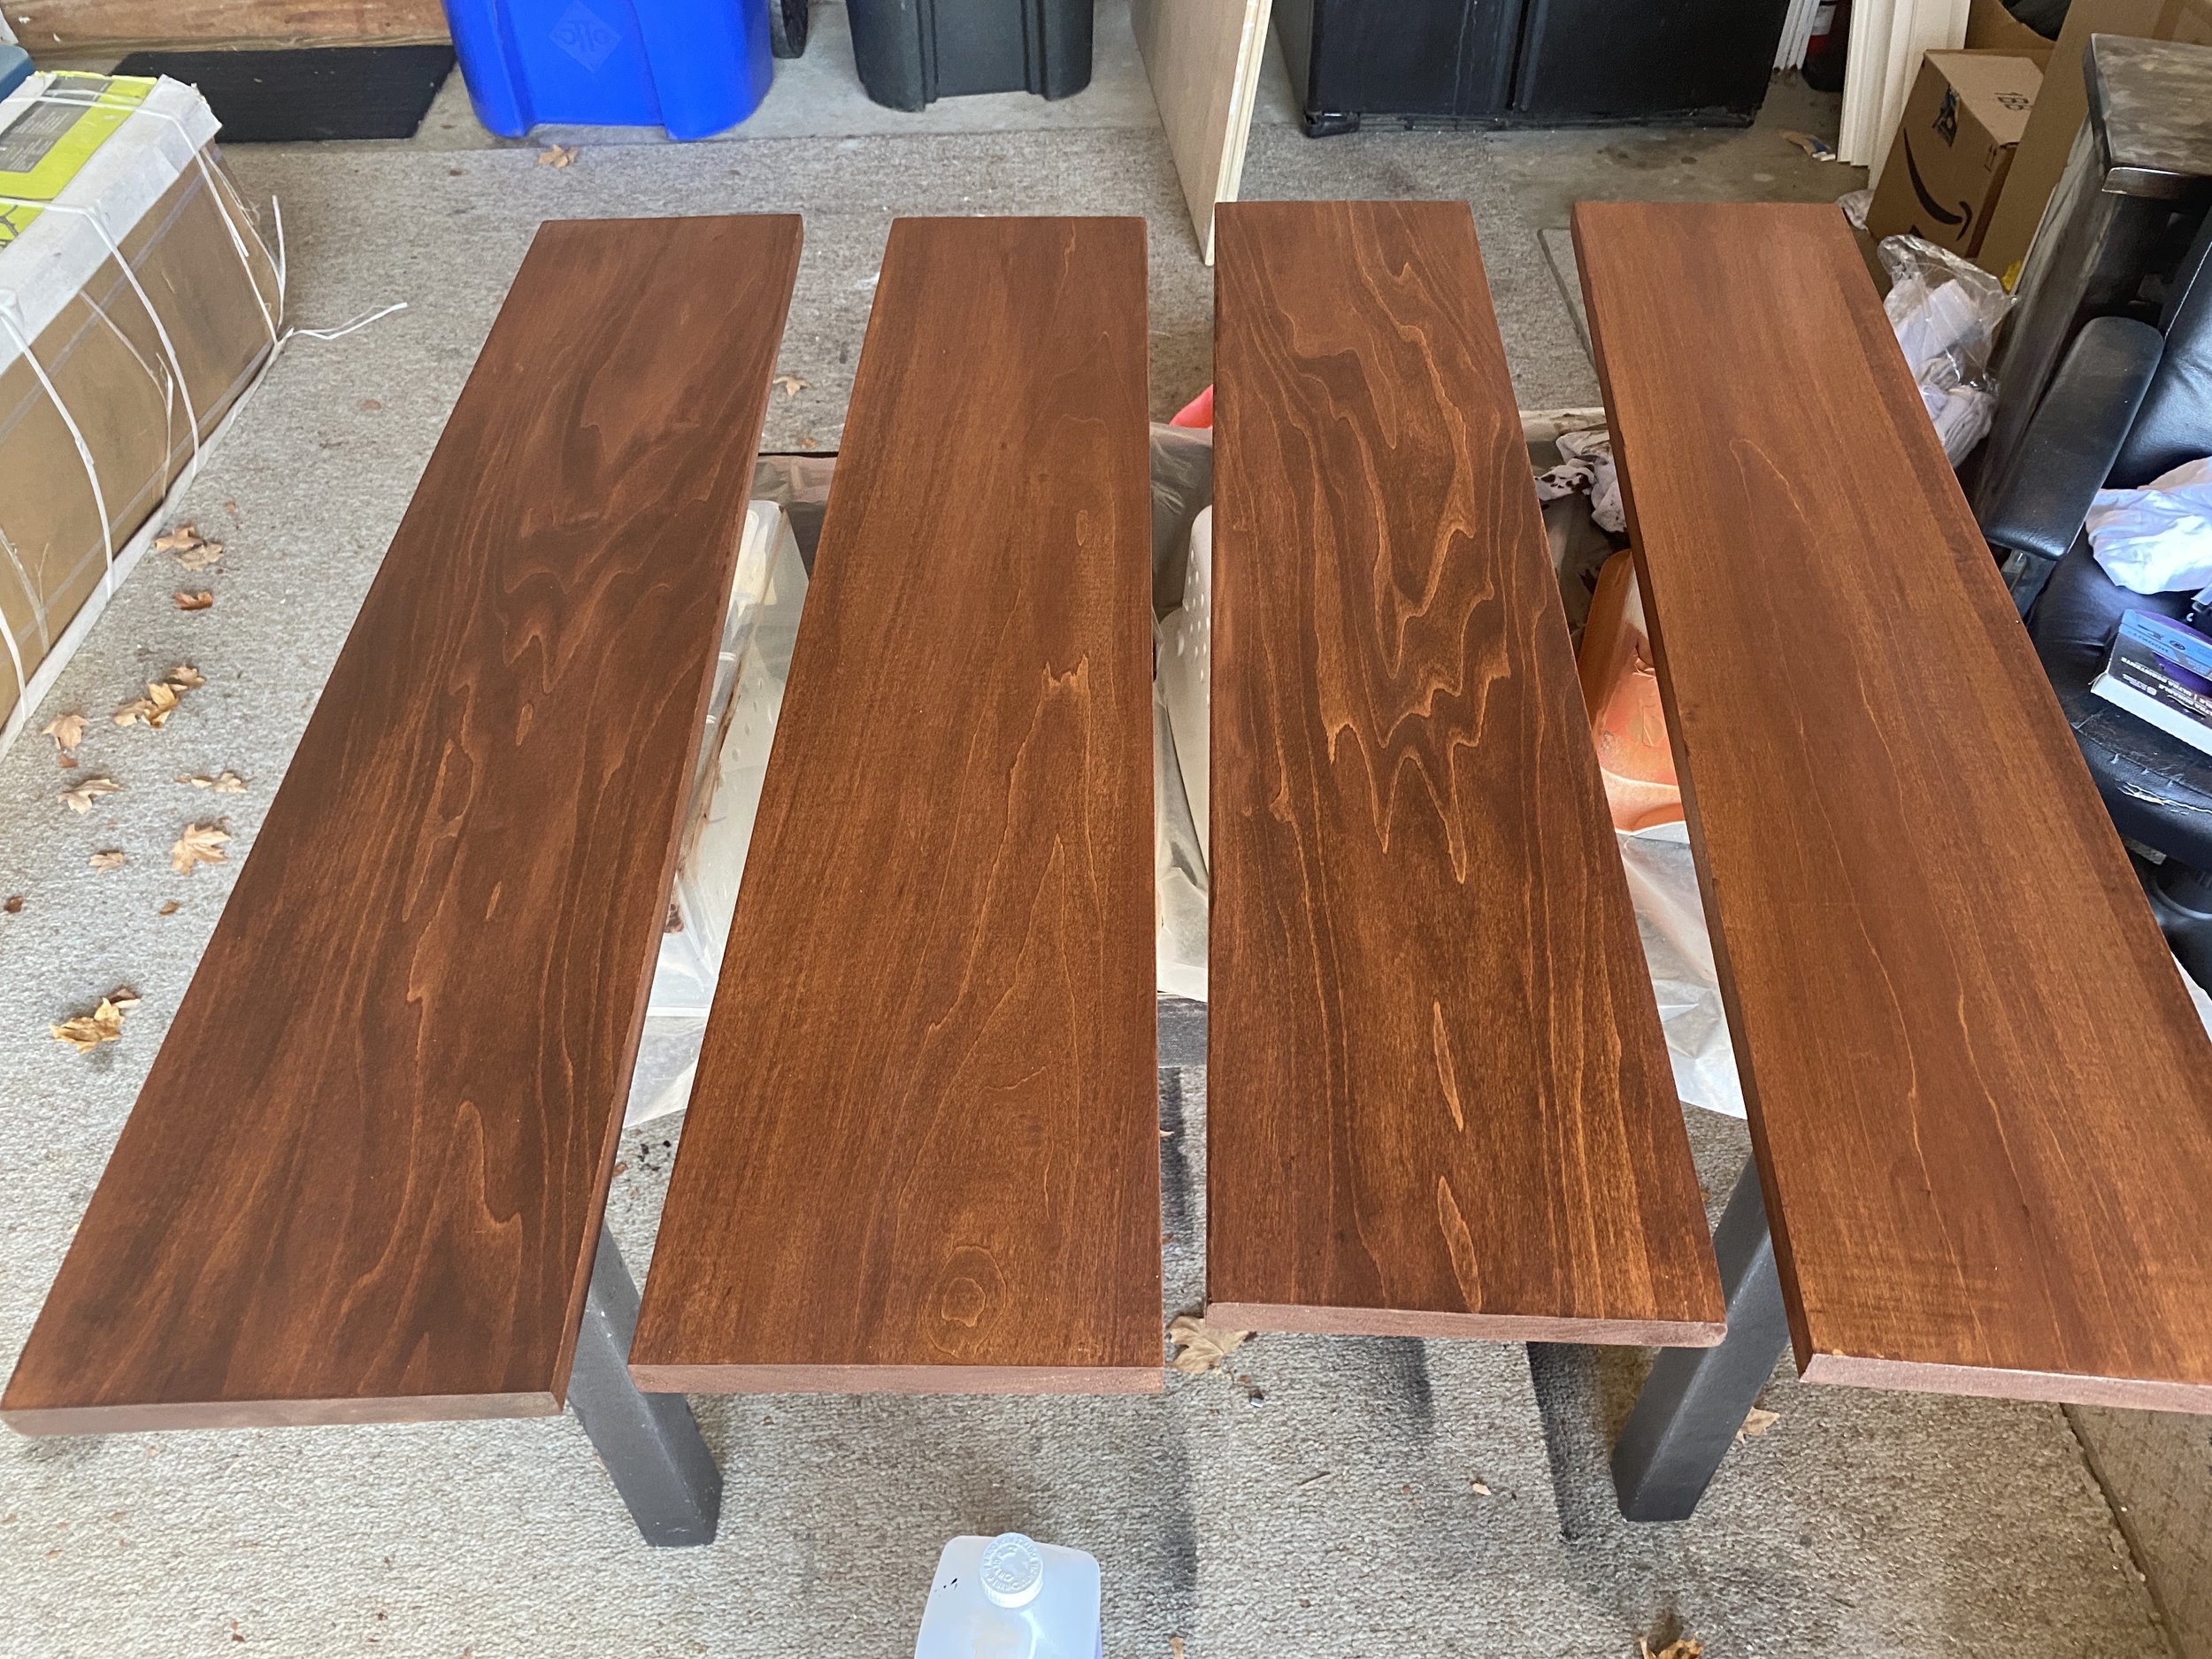
Raw Black Walnut Slabs- score!
Now it was time for one of the biggest elements of the space… our desk! We decided to go with a T -Shaped desk design to allow for 2 workstations and ample space to work and spread out. This layout makes the best use of space for our long narrow room. I did not want to spend a fortune on a retail desk, and I really wanted something special for the desk top. I found a local carpenter that salvages wood and he had some amazing pieces of black walnut already planed and ready to be cut to size for table tops.

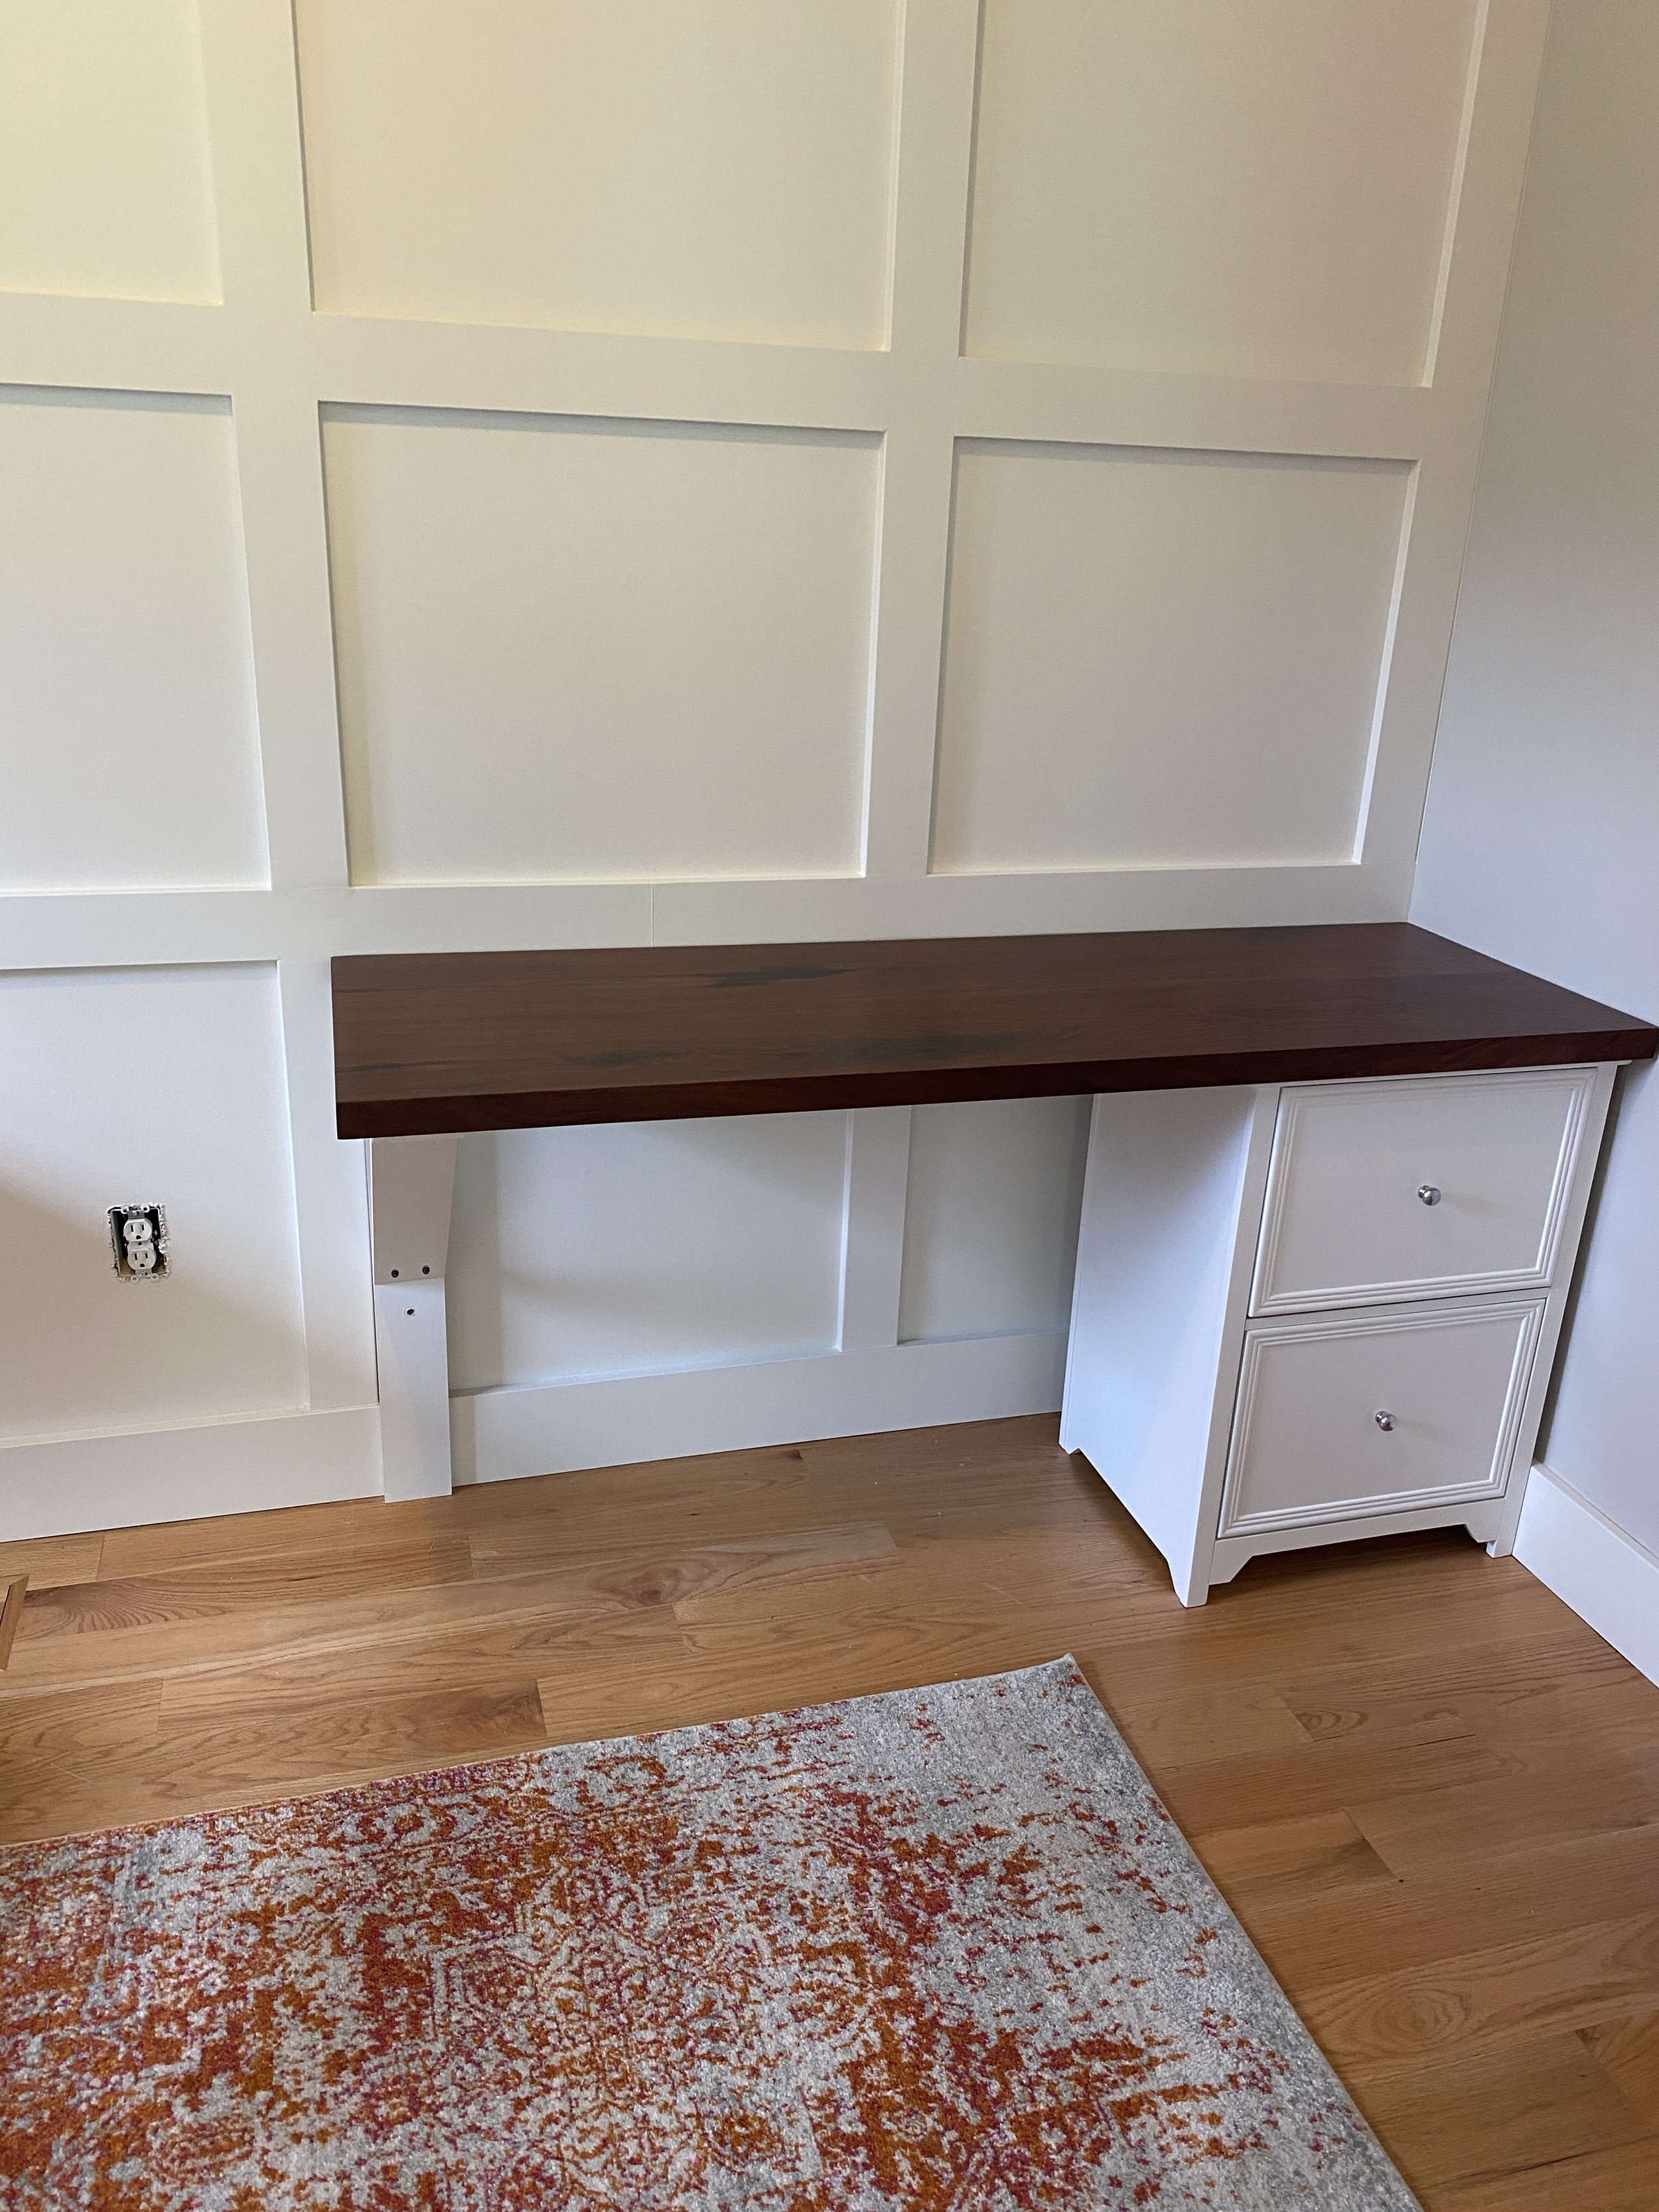
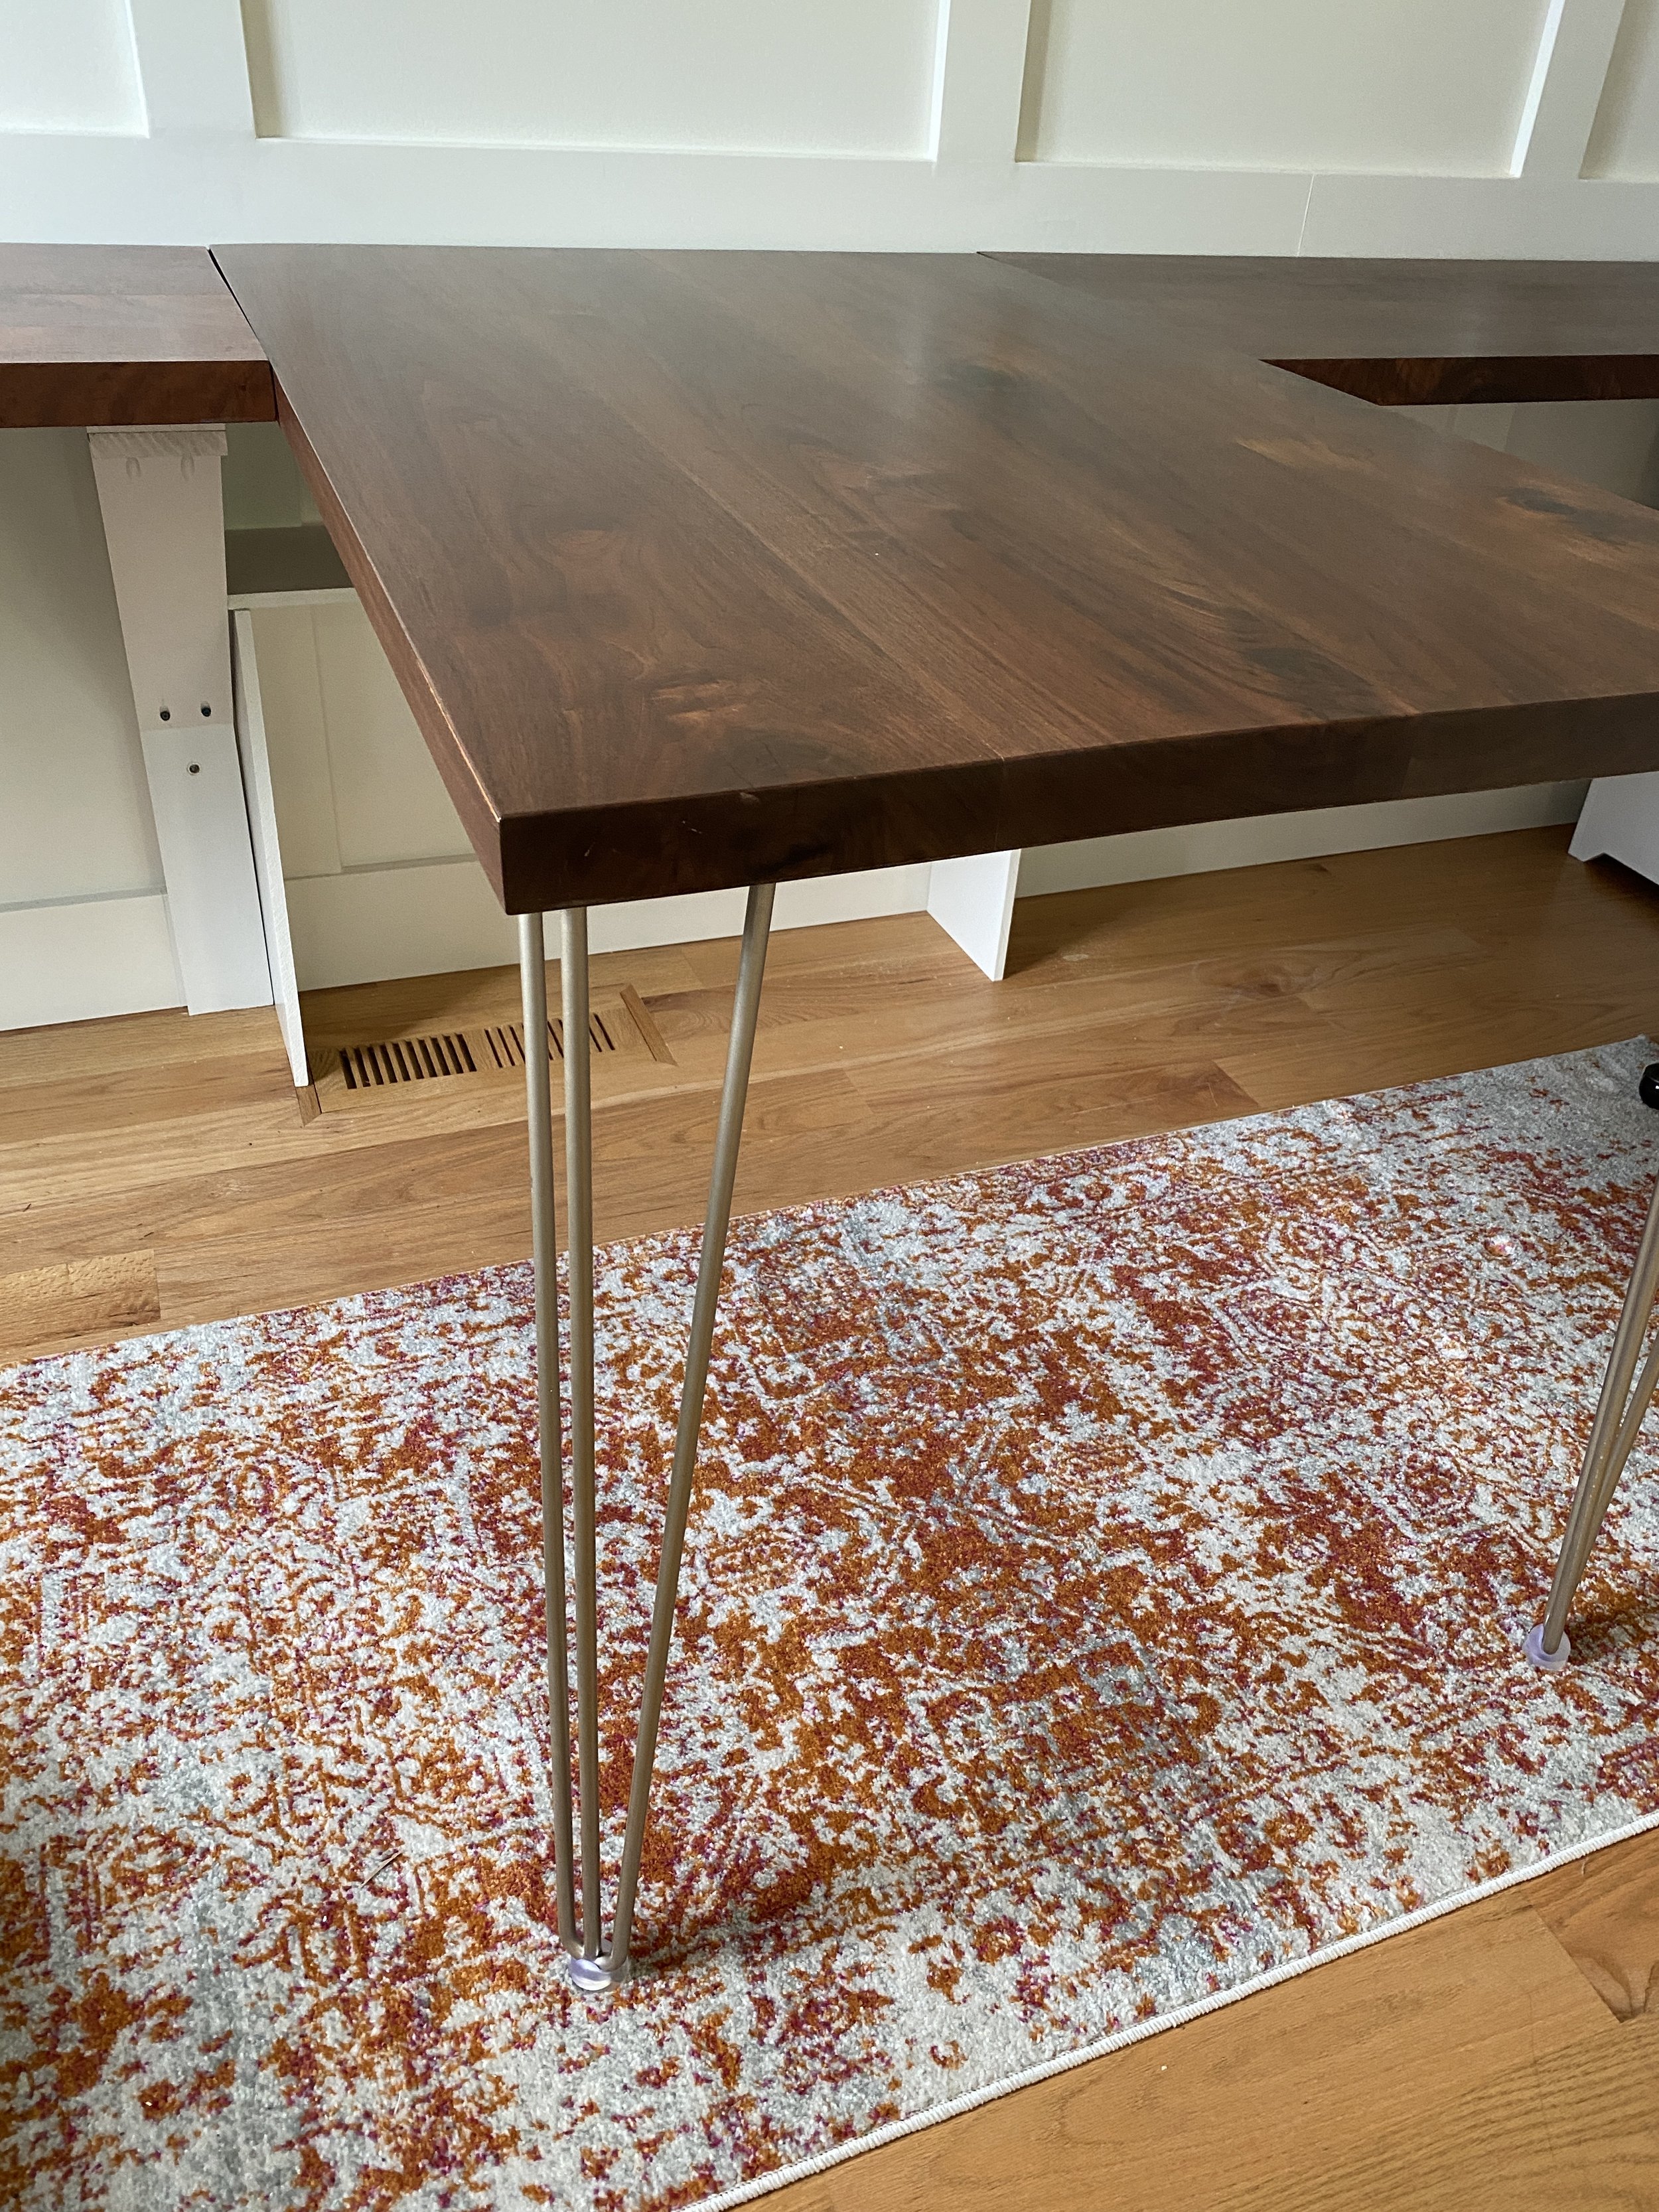
We had our carpenter make 3 tops for us out of his slabs and had them finished in a clear natural topcoat- black walnut does not need to be stained! A good clear coat will let the natural beauty shine through! To assemble the desk we found 2 file cabinets for the end table supports, and metal hairpin legs for the “T” of the desk. We used 1X4’s to support the center section of the table top.
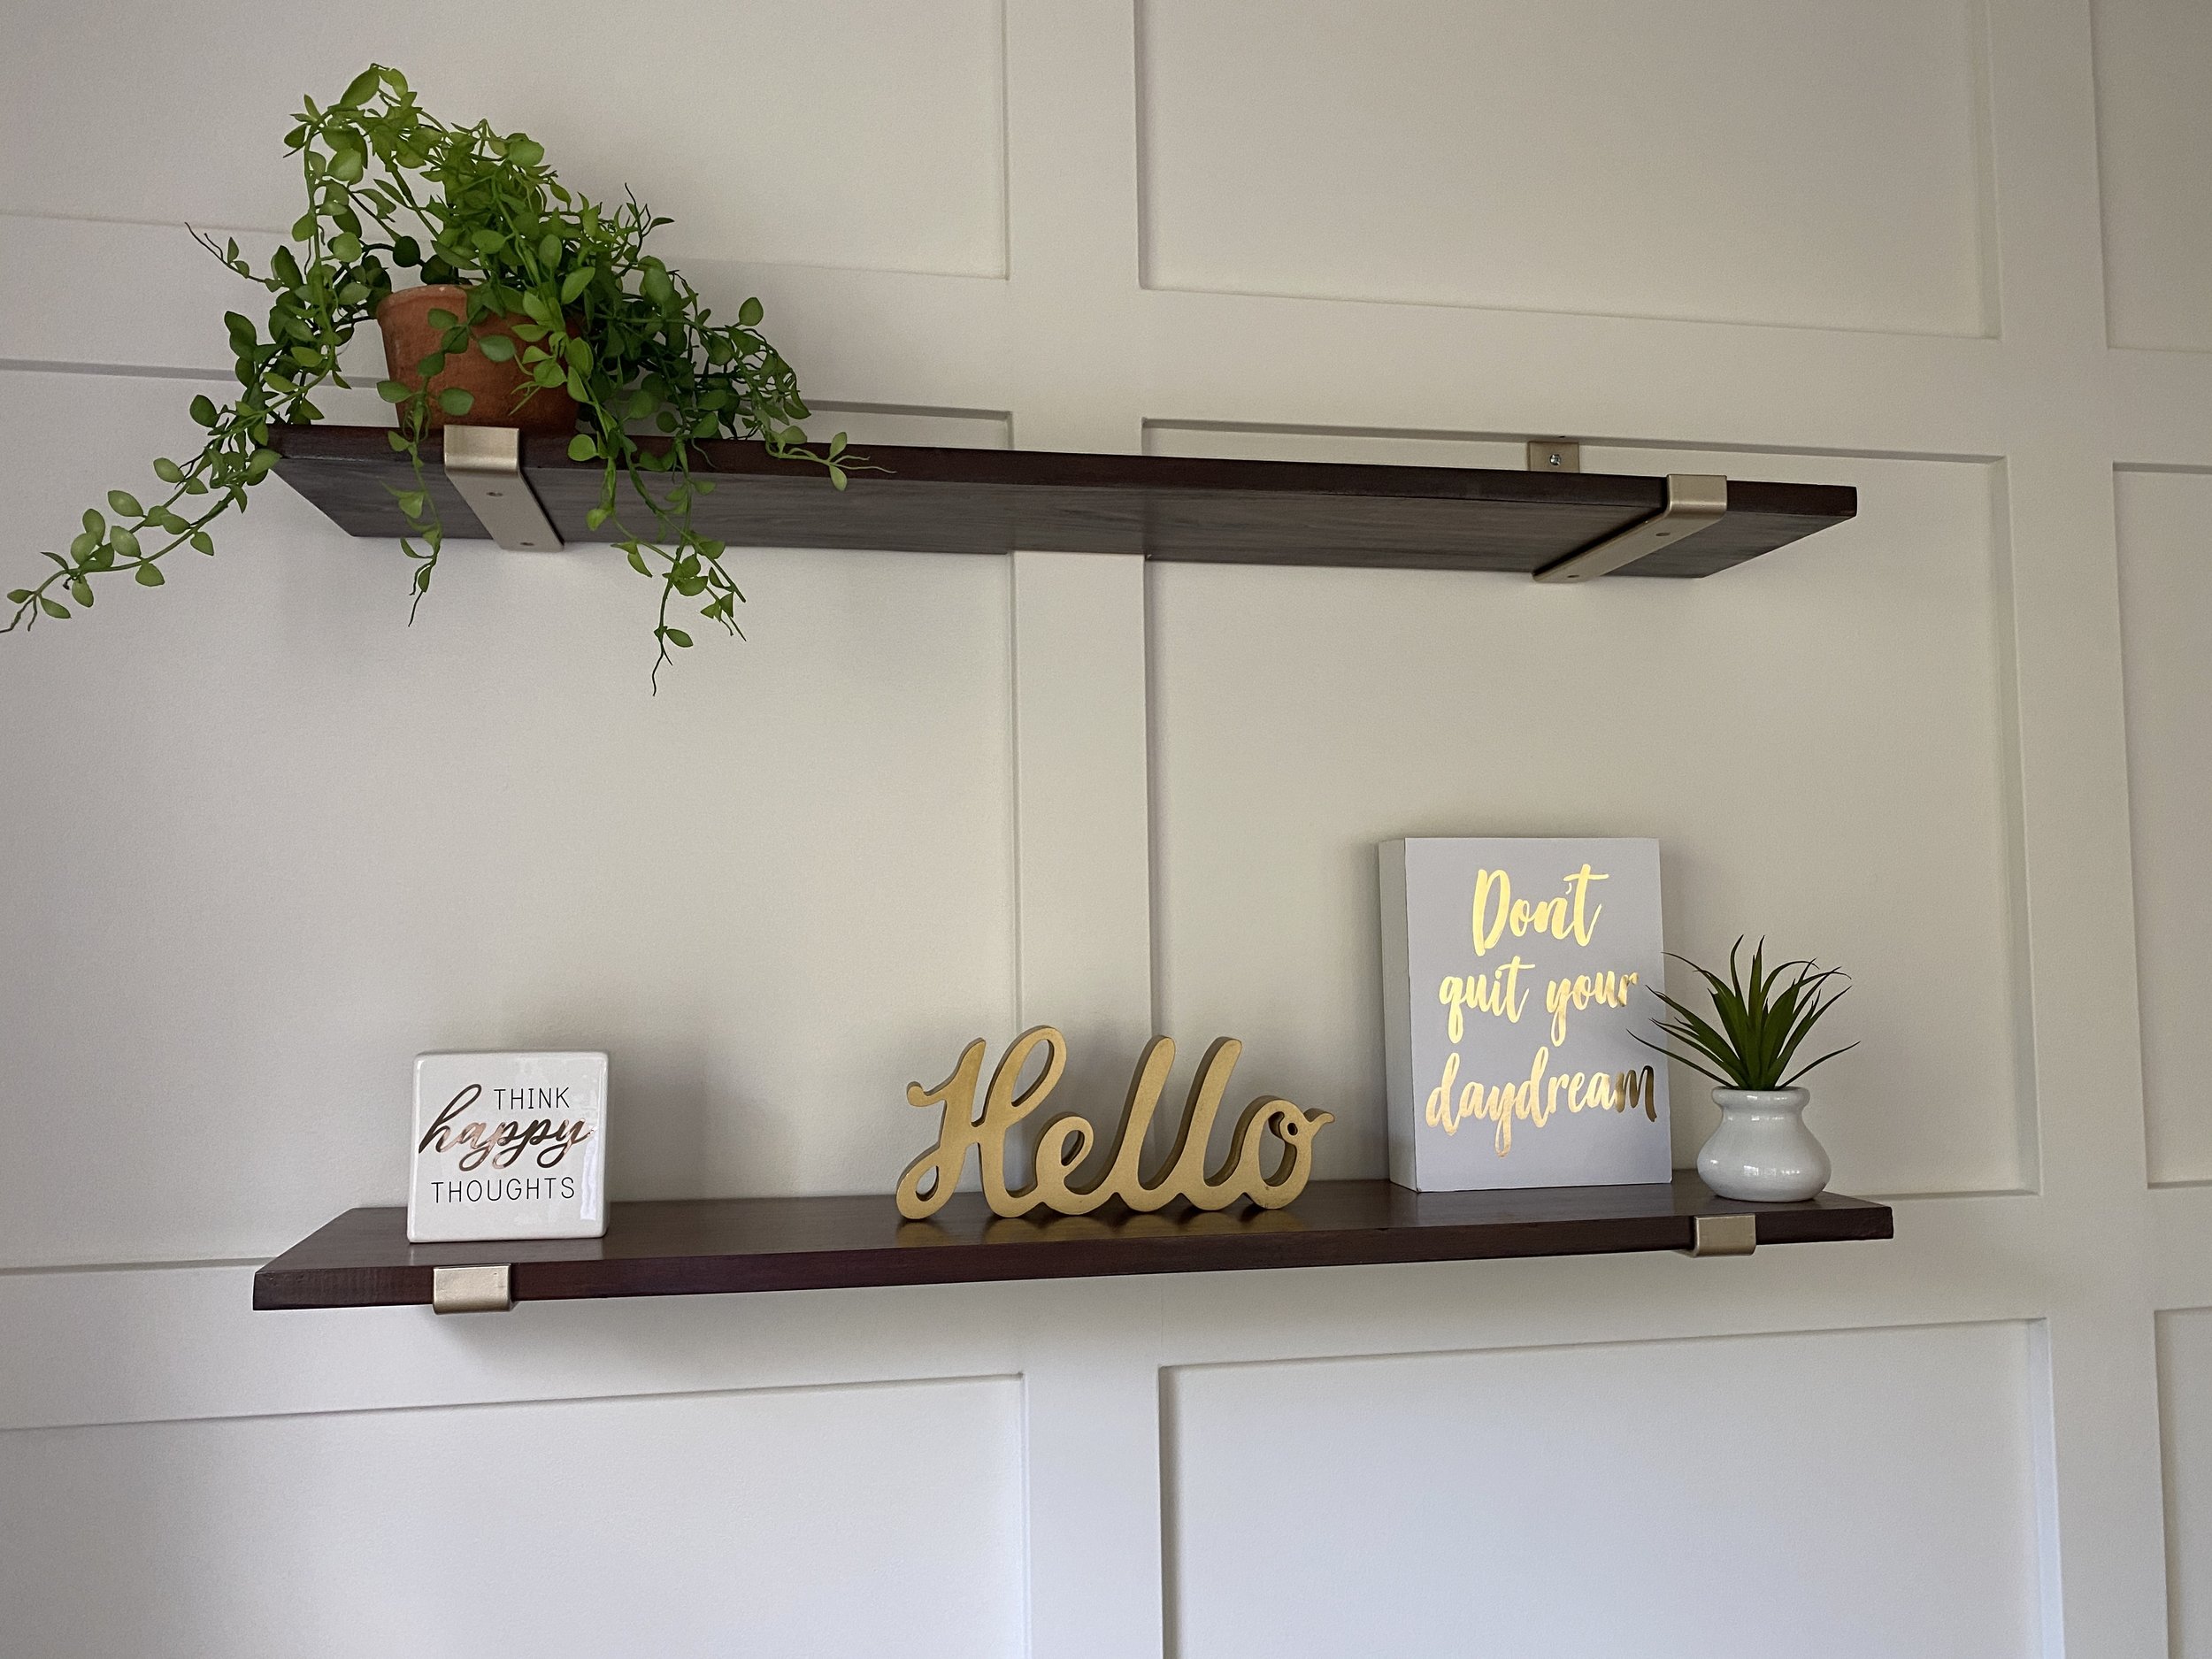
We then made our own shelves by purchasing 10’’ pine boards and staining them to match the desk top. We found the the General Finishes Mahogany gel stain matched the black walnut one well! Gold finishes really complimented the warm tones in the desk, so I sprayed these awesome brackets in Champagne Gold and used them to attach the shelves above the desk. I used that same spray to spray our hairpin legs so they matched.
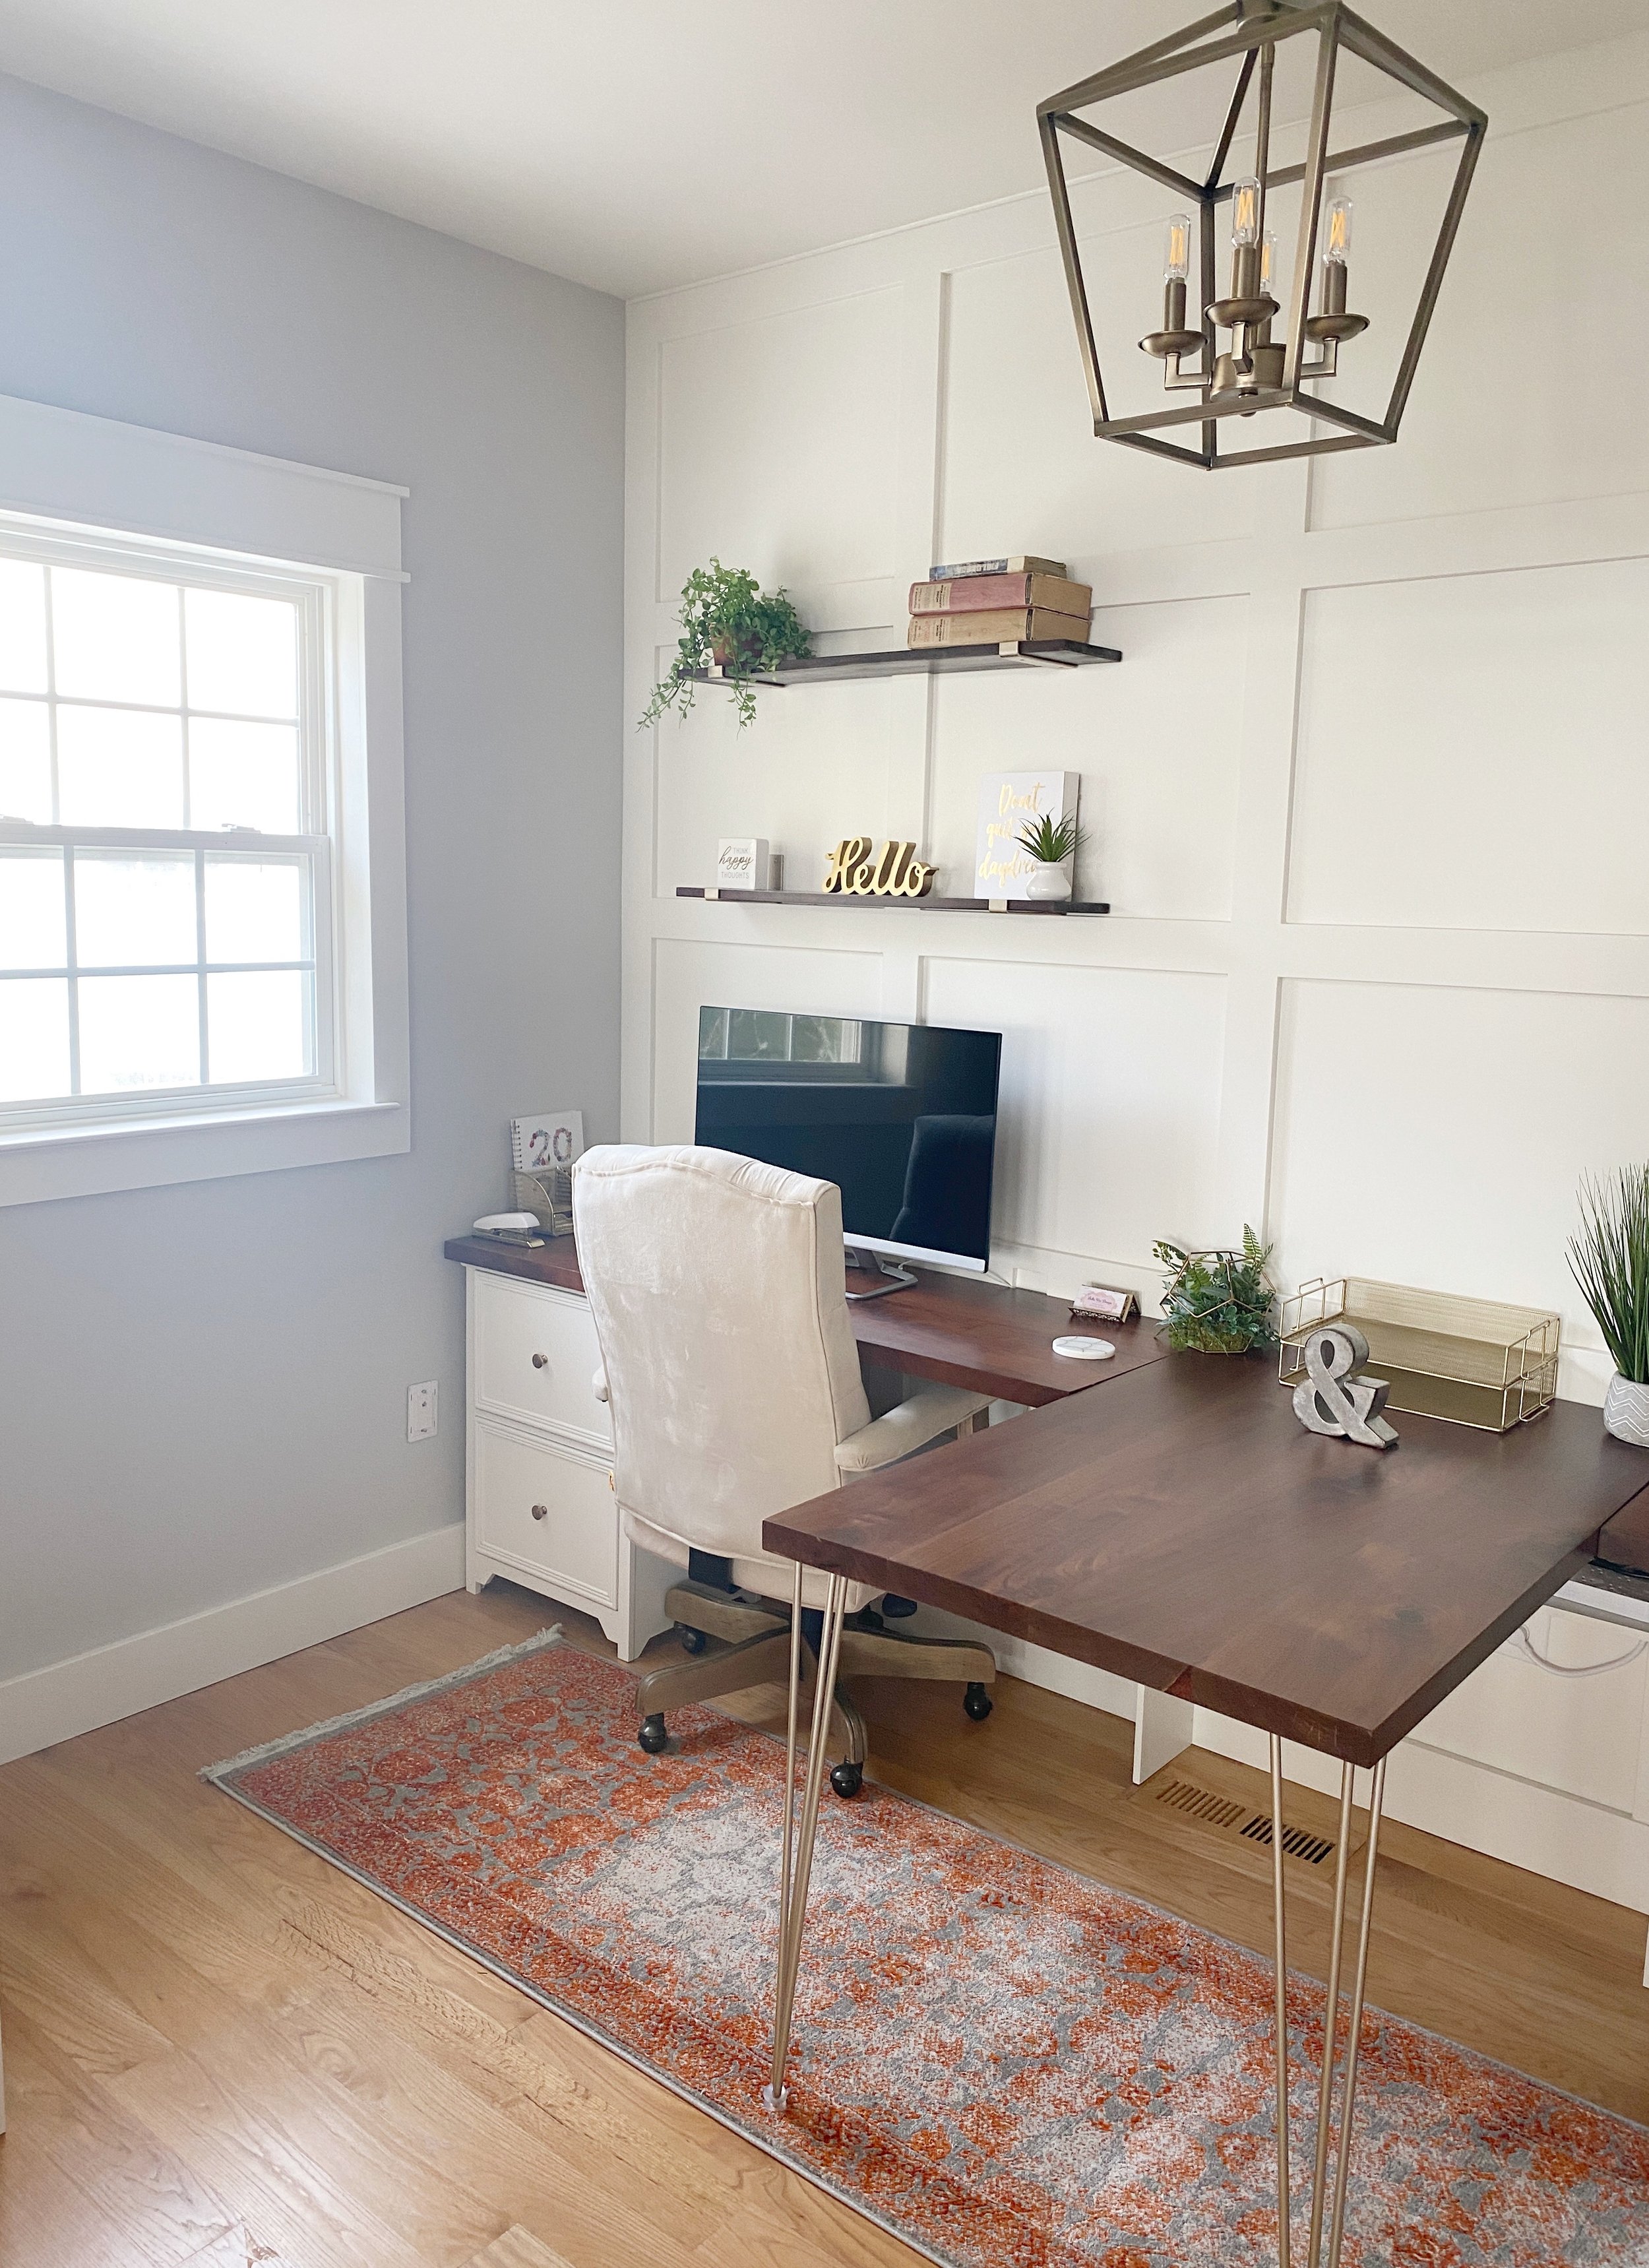
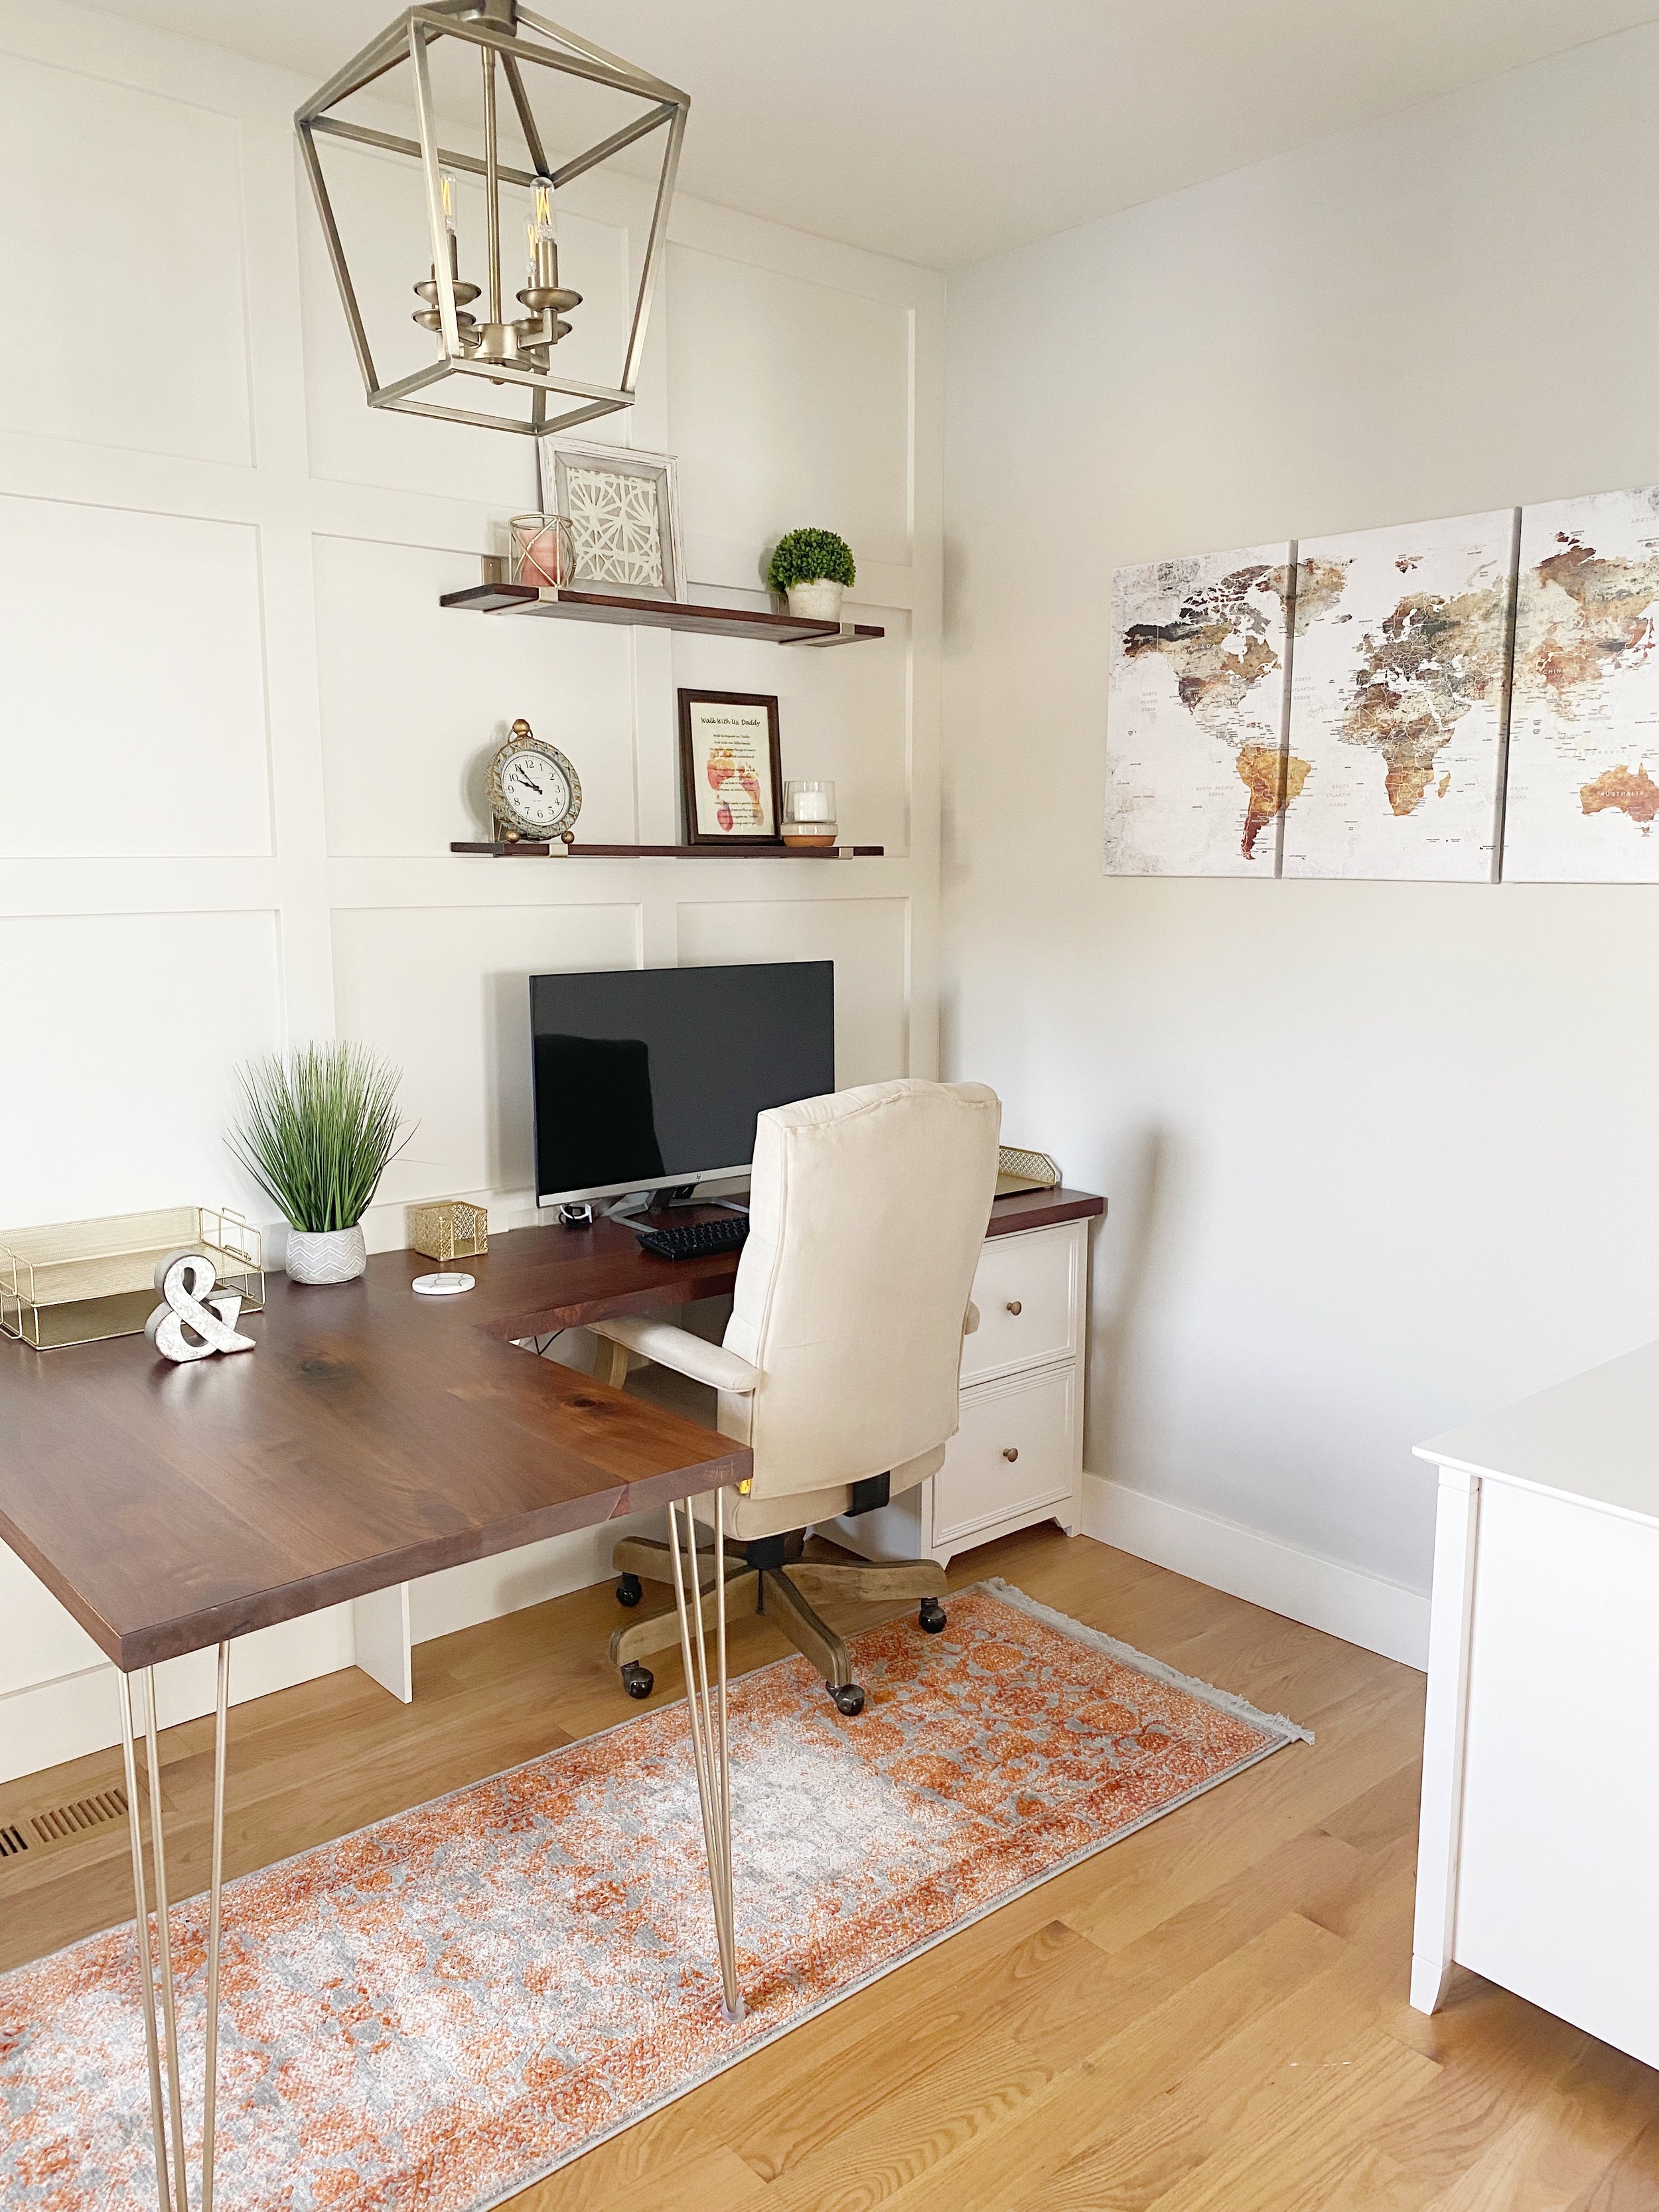
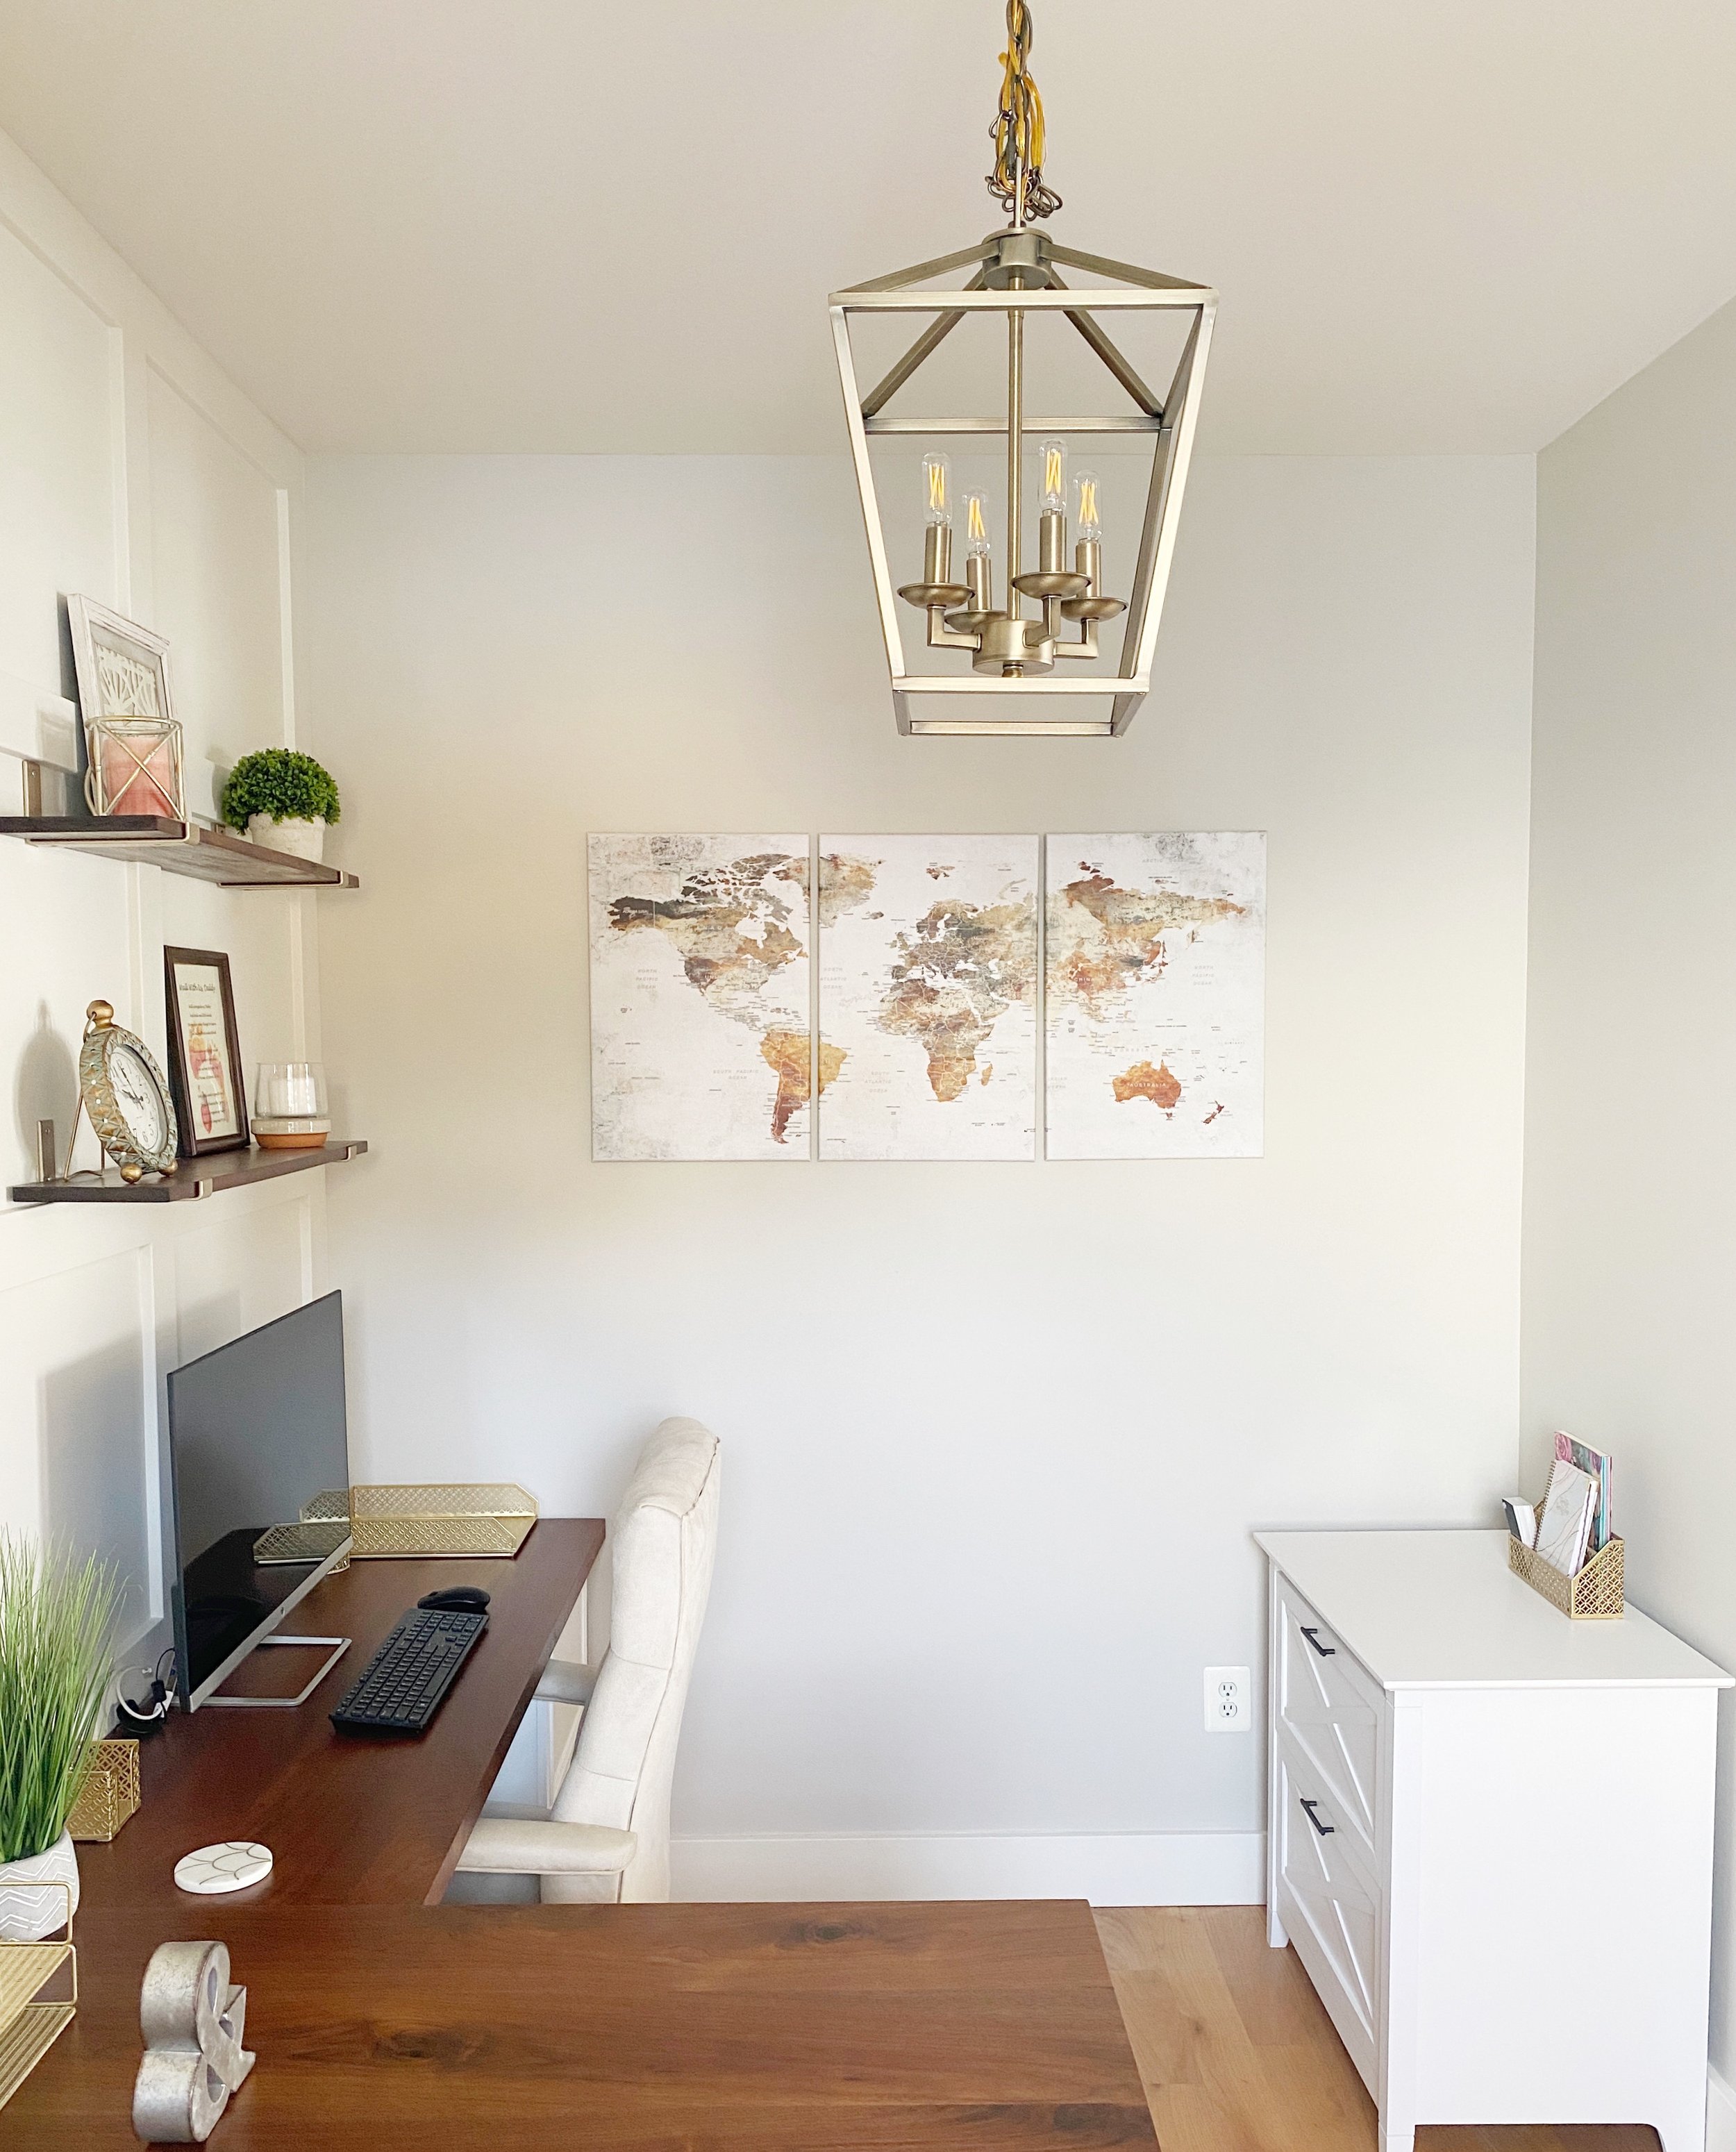
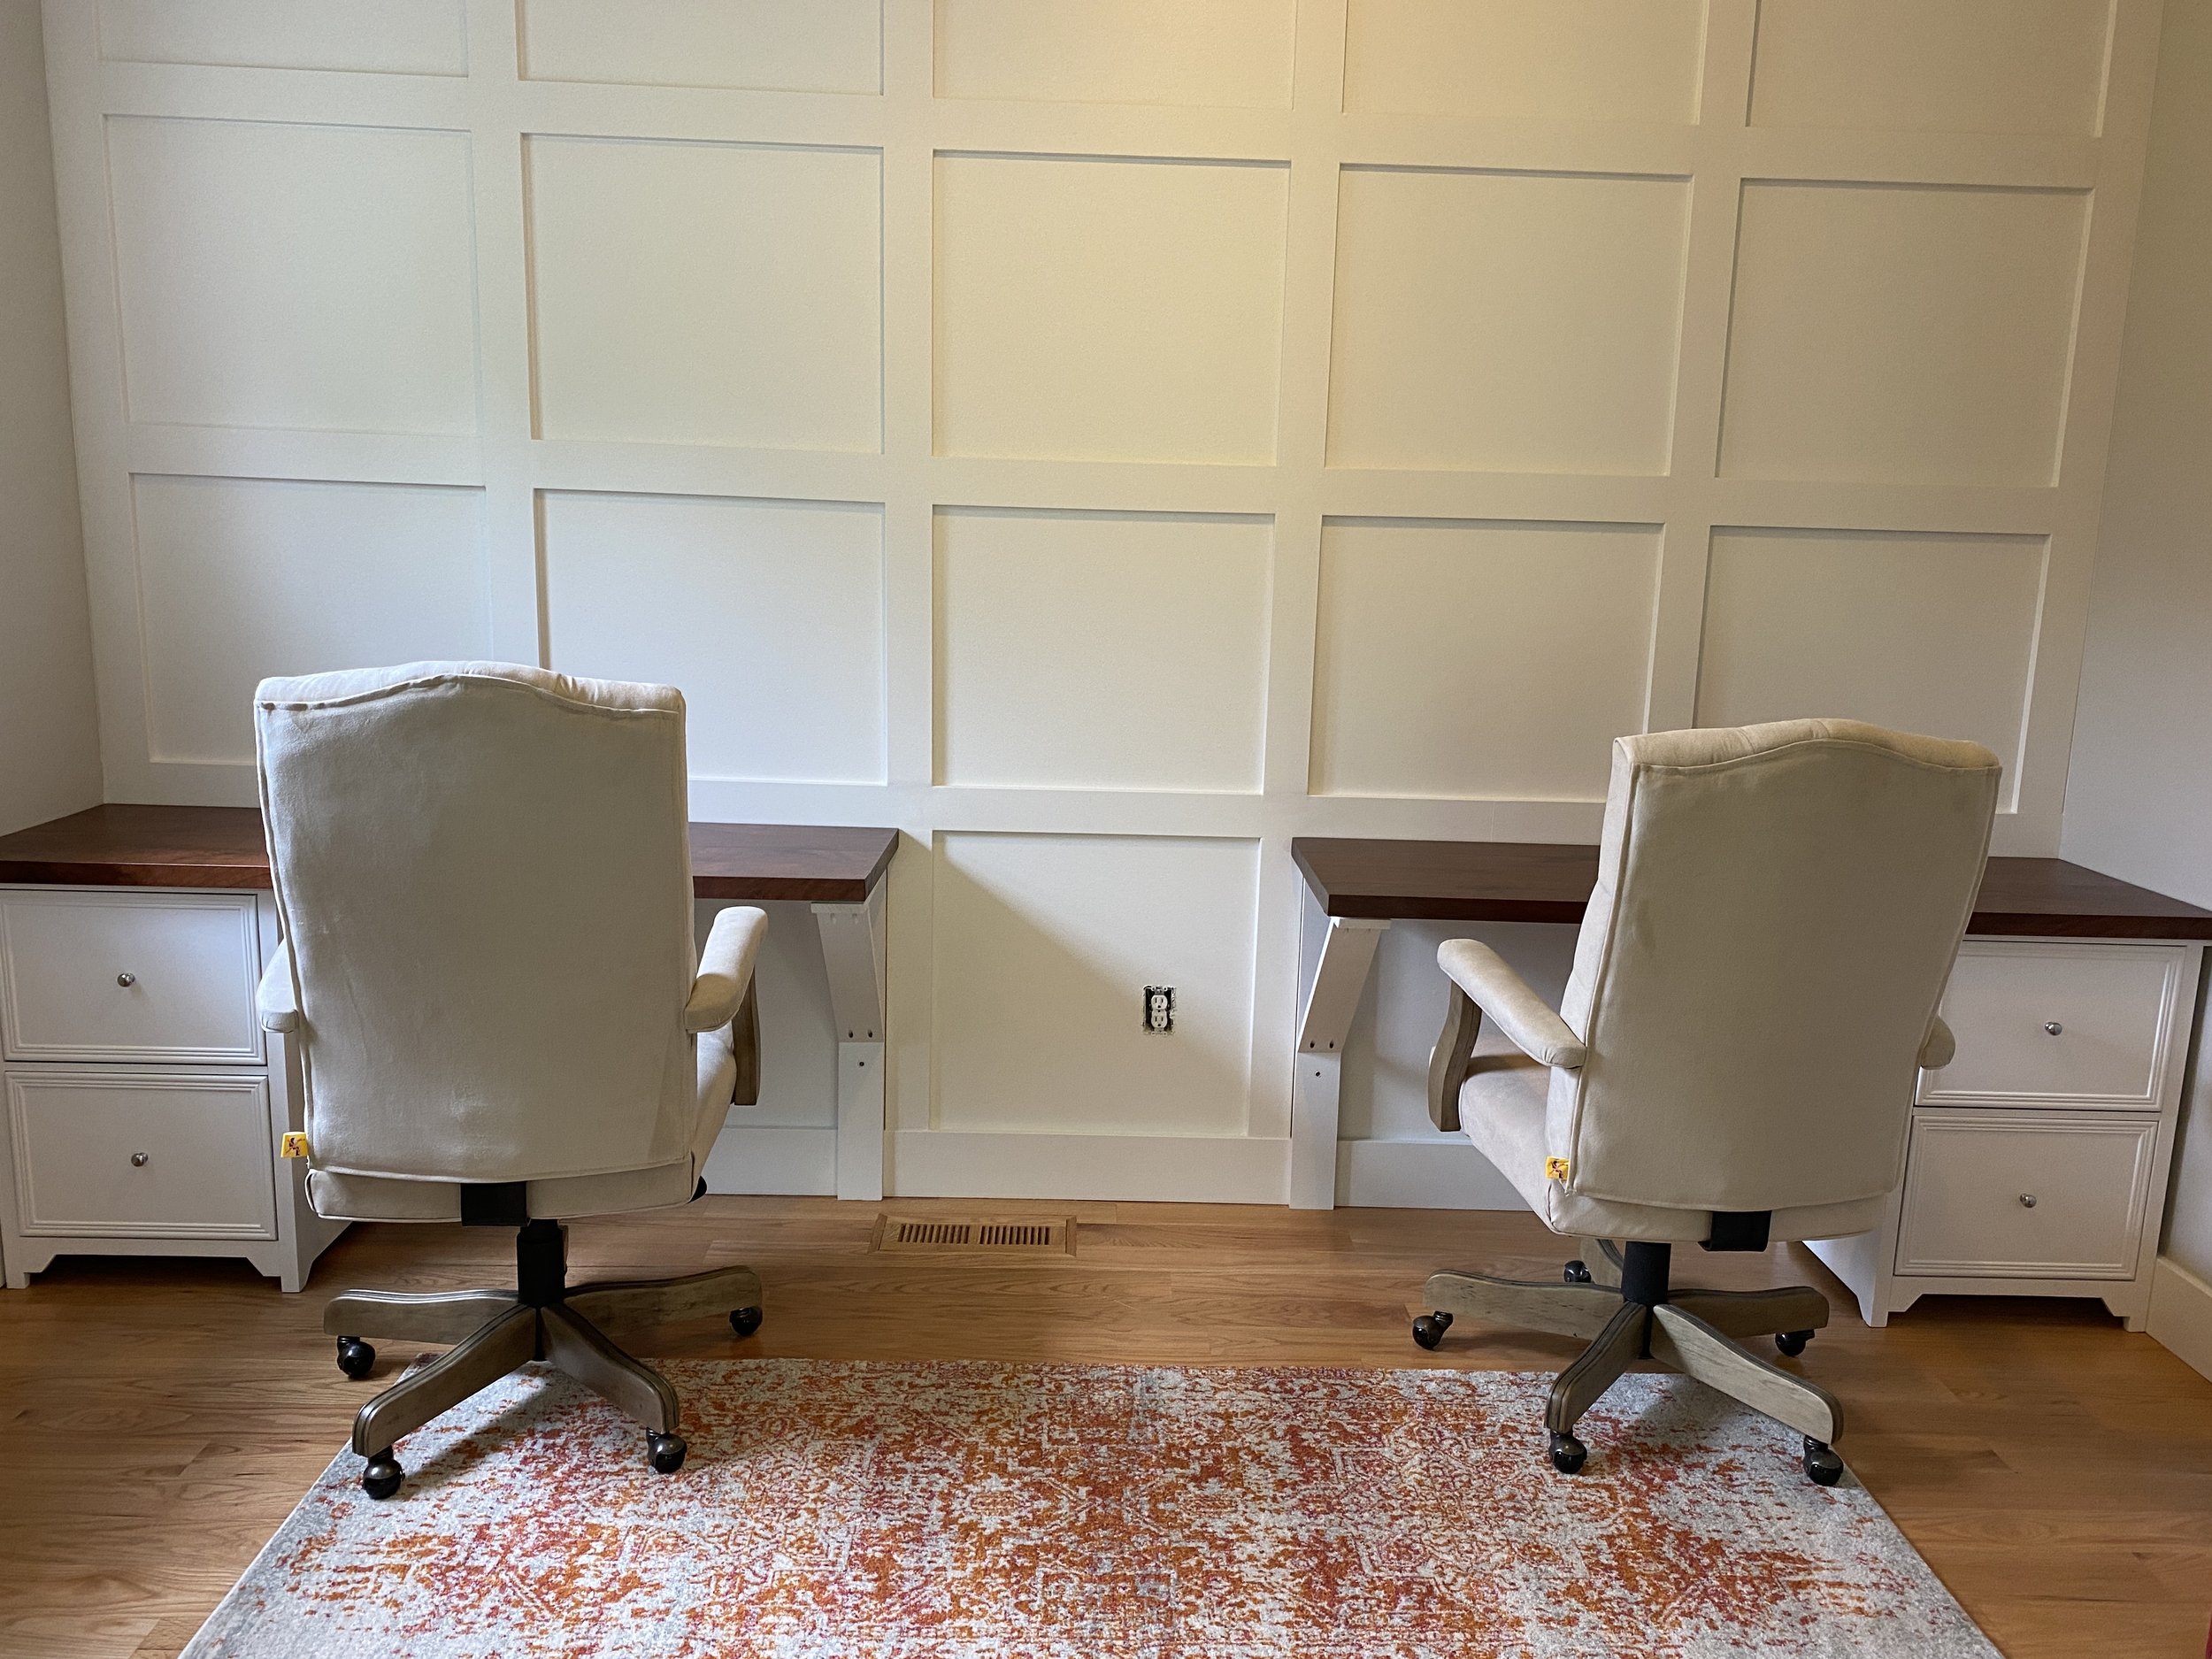
Finally we were in the final stretch and it was time for my favorite part- styling the space! We found an amazing runner that had just the right mix of warm orange tones that really complimented the warm tones in the wood. A stylish lantern style pendant light and accessories with white, gold, and orange/rust tones really tied the space together. The final results are a space we feel motivated to work in every day!

Perfection!
Copy the Look!
Use the links below to find the items or similar items to what I used for this project. This post contains affiliate links. Clicking and shopping from these links helps to support my small business. Thank you for your support!
Office Chairs: Stateline Executive Chair
File Cabinets: Similar HERE
Bookcase: Sauder Cottage Road Library with Doors
Hairpin Legs: Smartstand 28’’ metal hairpin table legs
Shelf Stain: General Finishes Gel Stain in Mahogany
Shelf Brackets: Claimed Corner Shelf Bracket (sprayed with champagne mist finish)
Hardware Spray Paint: Rustoleum Champagne Mist
Rug: Similar rug HERE
Lighting: 4 light chandelier
Gold Office accessories: Blue Monoco Set
Let me know what you think of our office design in the comments below! Want to work with Bella Via Design to create your own dream space? Click the link below to reach out to us and we can find a design package that is right for you!